The Zone Mortalis Board is Finished
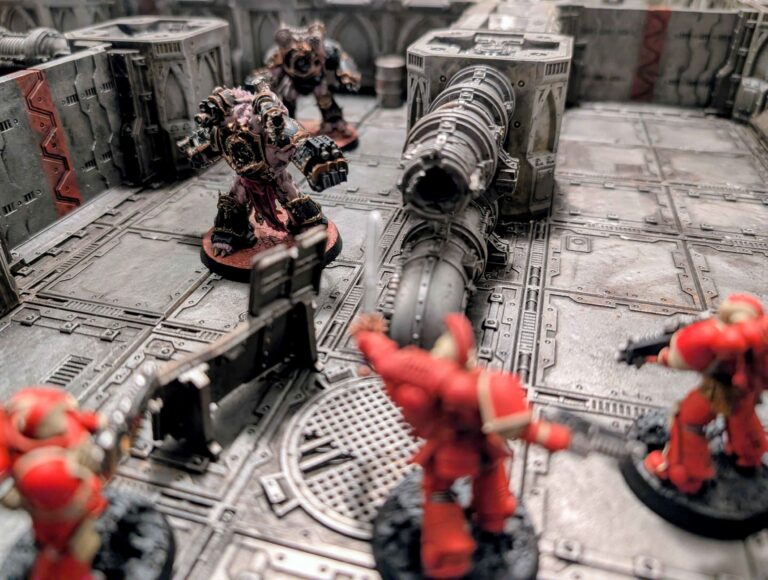
For the ICI V, we wrote a ghost ship, the Albatross, had crash landed on the campaign world. I liked the story so much (even though it was only a paragraph and some mission special rules) that I wrote the Albatross had disappeared from the planet before the ICI VI so that I could use it in future stories. One of the boards that represented the Albatross at the ICI V was my (then unfinished) Zone Mortals table.
Looking back, crashing the Albatross onto Exitus was a terrible, terrible mistake, and I would hang its carcass around my neck for two years while I debated how to resurrect it. And it is apt that I only finished the ZM board after the bird flew again.
Because, ladies and gentlemen, crons and cultists, my Zone Mortals board is officially complete.
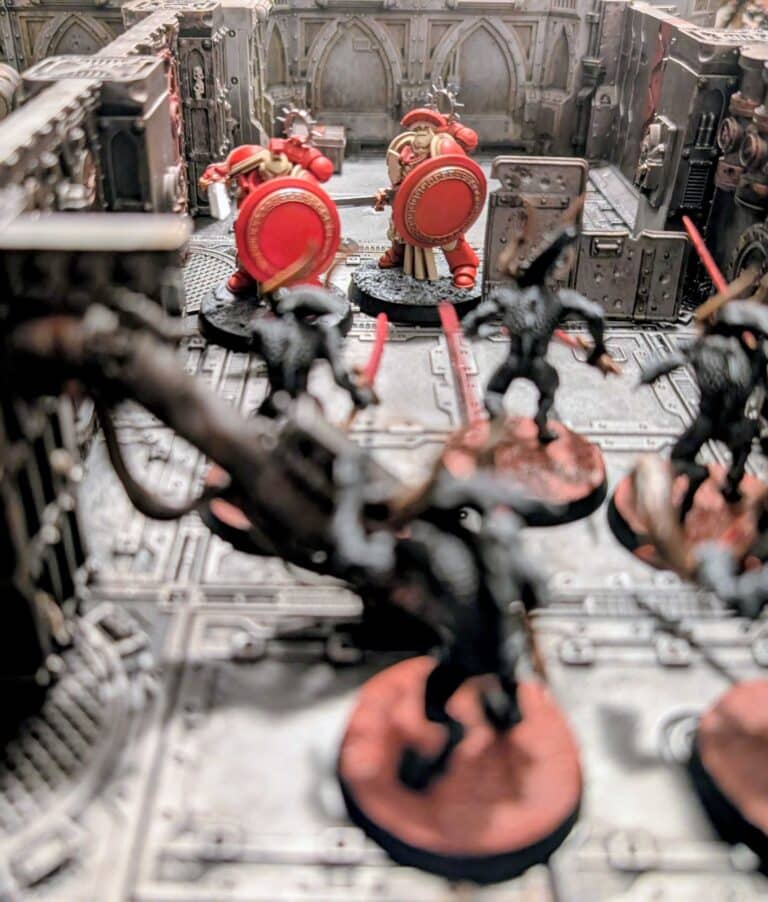
How it started
The genesis for this project was purchasing the Necromunda: Dark Uprising box in 2019, which launched the current ZM terrain from GW. The box came with quite a bit of the stuff, and I was left wondering what to do with it. I had enough urban terrain to play Necro, and the cardboard tiles from that era were also quite popular and, at the time, a very accepted way to play (no idea if they’re still kosher with the current edition though).
This was long before the modern Boarding Action rules were published and 40k ZM games were firmly situated in the domain of internet house rules. But void warfare is such a huge part of the setting and, other than trying to convince my gaming group to pick up the dead Battlefleet Gothic, creating a ship board seemed like the best way to incorporate this into campaigns and narrative gaming.
I slowly collected the parts needed over the next few years, grabbing boxes here and there on sale or when they were in stock on GW’s website (I remember the floor tiles were particularly difficult to source). I picked up the Kill Team Into The Dark box, which introduced the Gallowdark/Boarding Actions terrain, figuring it would make a good engineering section for the table. More on this later.
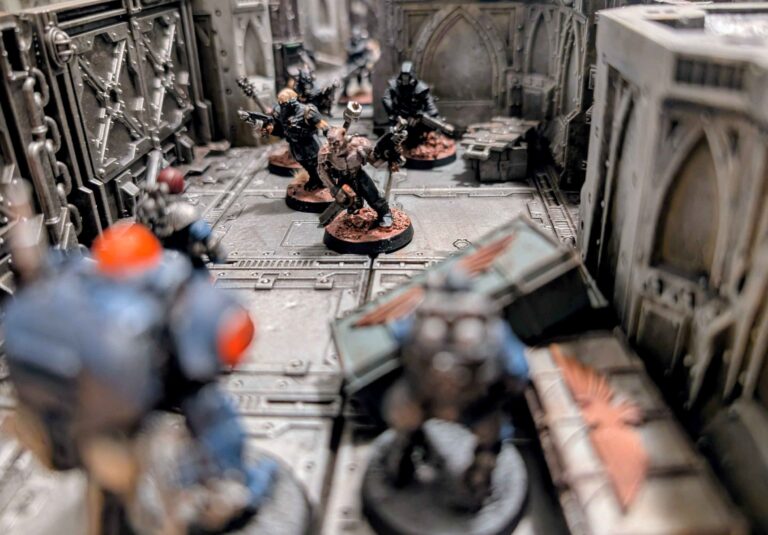
Why GW terrain
Though there may not have been a ton of options seven years ago (I don’t honestly remember), today there are a plethora of choices when it comes to creating a ZM/Boarding Actions table.
The cheapest is probably MDF terrain kits, of which there are a few different options for these ranging in quality. Like all MDF terrain, I think this can look good, but definitely requires a bit more than my usual terrain painting of quick base, wash, drybrush.
The next obvious option would be to scratch build a ZM board. I’ve seen some cool concepts over the years, from free standing rooms that can be moved around a mat/board, expanding foam laid down in lines to form rock walls, or use of a lot of negative space between corridors and rooms to reduce the number of walls needed. This has potential to be cheap, but would require a huge amount of work to approach the quality of GW’s terrain. Of course, it could also look as good or better: just depends on how much effort you put in.
There are a few very nice STLs for 3D printed Zone Mortals/Boarding Action terrain, and, if you have the means and experience, this is probably a great way to go about it. But I don’t have a printer, nor do I really enjoy dealing with resin (though you may be able to get good enough detail with a decent filament printer).
At the end of the day, GW plastic is the material I’m most familiar and comfortable with, and the terrain comes with an incredible amount of detail that looks good and takes a drybrush well. Obviously there are the other options above, and it might not be how you’d want to go about it, but it was the right choice for me.
Pity I ruined it.
Planning out the ship
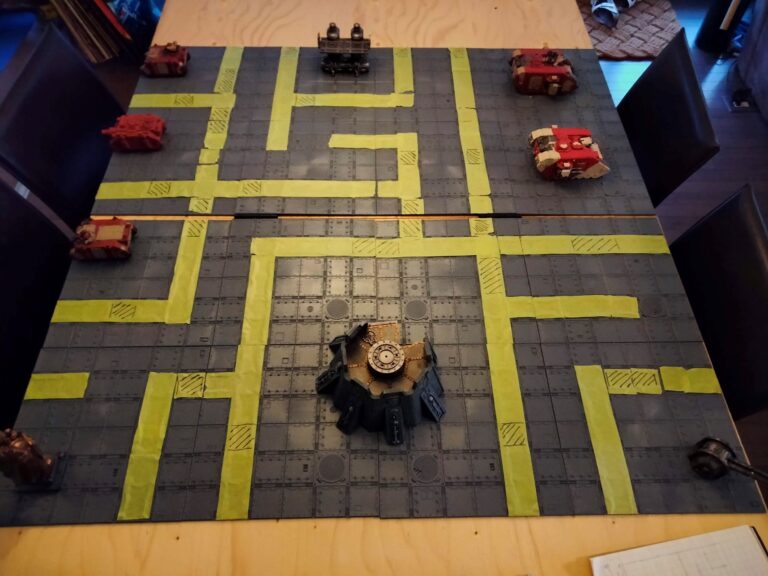
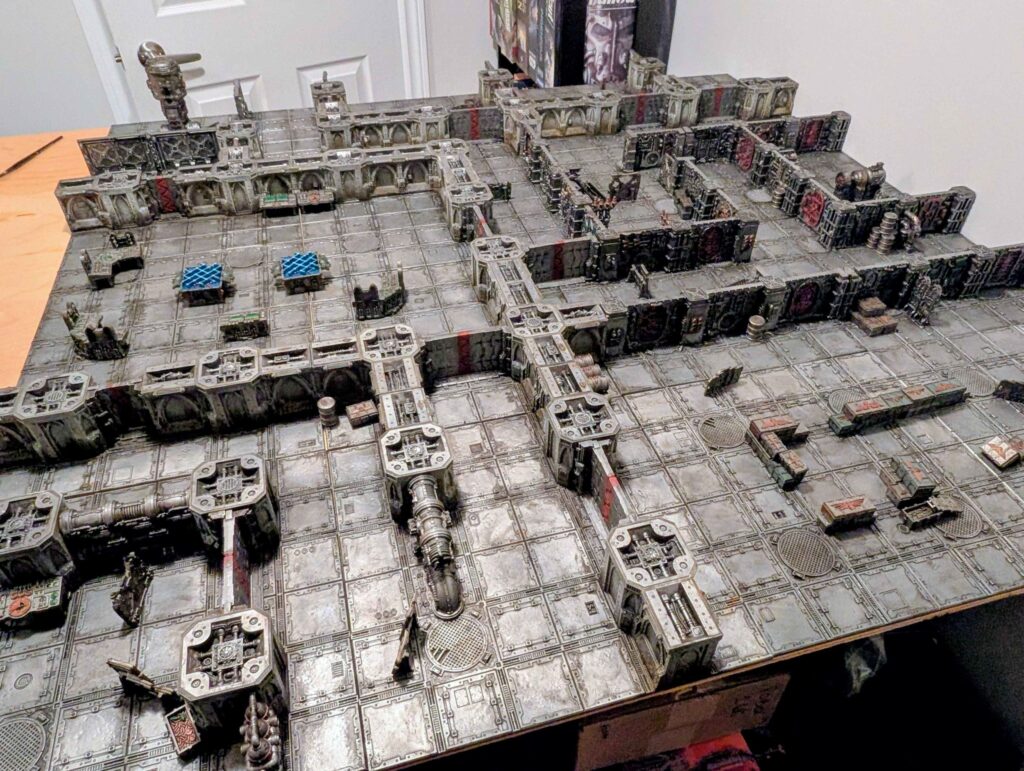
I mentioned the Albatross ghost ship above, but this board really is meant to represent any Imperial vessel, installation, or underhive. I designed the layout primarily on the idea that I’ll be playing it as a ship and wanted distinct areas for things like engineering, gun decks, and the bridge.
In hindsight (and boy is there a lot of hindsight in this post), this was a dumb idea. Imperial cruisers are over a kilometer long and representing all the key areas on a 4’ x 4’ board is nowhere near to scale. Fortunately, I didn’t glue down things like bridge stations and engine machinery, and haven’t even acquired any ship-to-ship guns, so the three rooms along one side don’t need to be for broadside weapons, nor the massive open space on the other side need be a hangar.
If I were to do the layout again from scratch, I think I’d do a default layout for a 3’ x 5’ table instead of 4’ x 4’. A few years back, Mathias hosted a Boarding Action game day and we set up my ZM board in this configuration for the big team finale. Though it was far from finished at the time, the size felt really good. Being able to have centre tiles would also be helpful for certain designs: as it stands, the central “bridge” on my board’s default 4’ x 4’ layout straddles two tiles and, as a result, is probably bigger than it needs to be. Doing a board that represented a main junction along a spinal corridor or maybe the outer bulkheads where boarding torpedos crashed in would have been very cool.
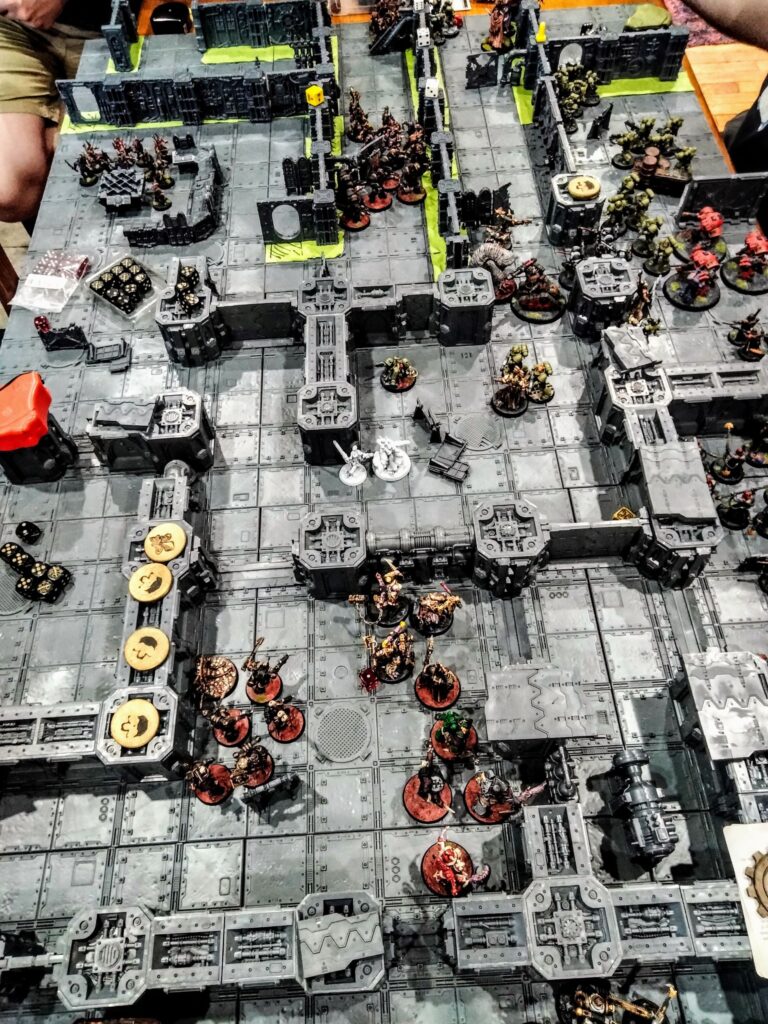
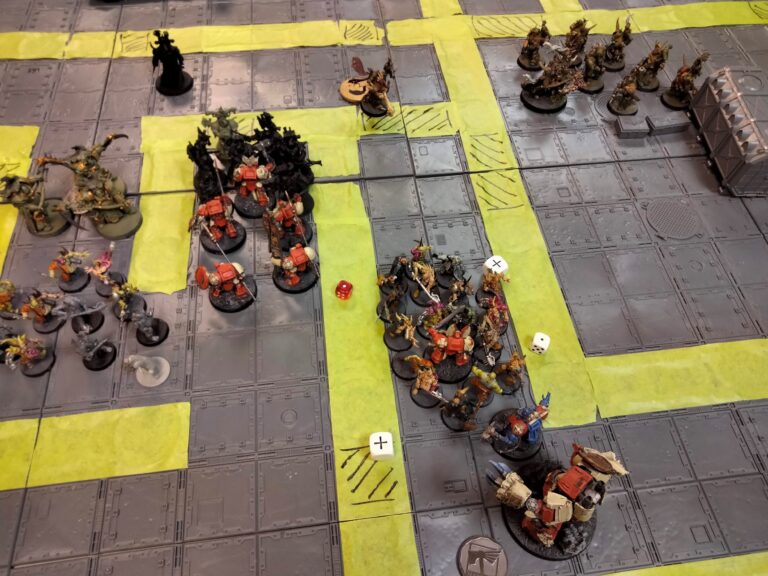
As it stands though, the layout works well for the games I have played, offering a few larger corridors for dreadnoughts and plenty of access for infantry. After sketching out the rough concept, I used painter’s tape on the empty tiles to outline where I wanted the walls to go, and sharpied in the doors. I actually played a few games on this to test the layout before gluing everything down.
Building the hull
As hinted at earlier, building the Necromunda ZM terrain was pretty straightforward. I used a pair of ceiling pieces to centre all the walls and pillars and got everything dryfitted on the board before gluing it all down.
At one point I had the notion to not glue the walls and pillars down to allow for extra modularity. Though there are guides built into the plastic tiles for the pillars and walls, the fit isn’t tight enough to leave unglued and walls were knocked loose when the tile was bumped. The other issue was the tiles had a noticeable warp to them. I read online that gluing the terrain down would fix this, and it did, but I was pretty mad, especially given the price of the terrain. I had considered a few other options, such as gluing the tiles down to a wood or foam base, but fortunately it didn’t come to that.
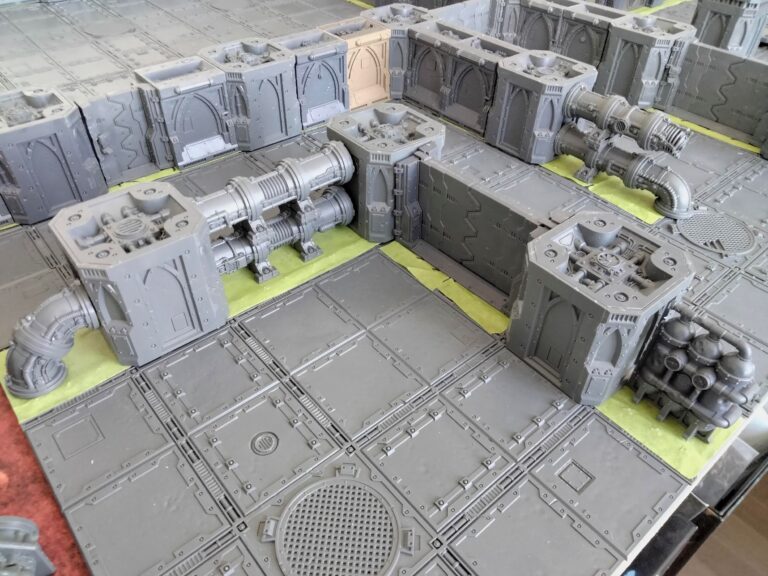
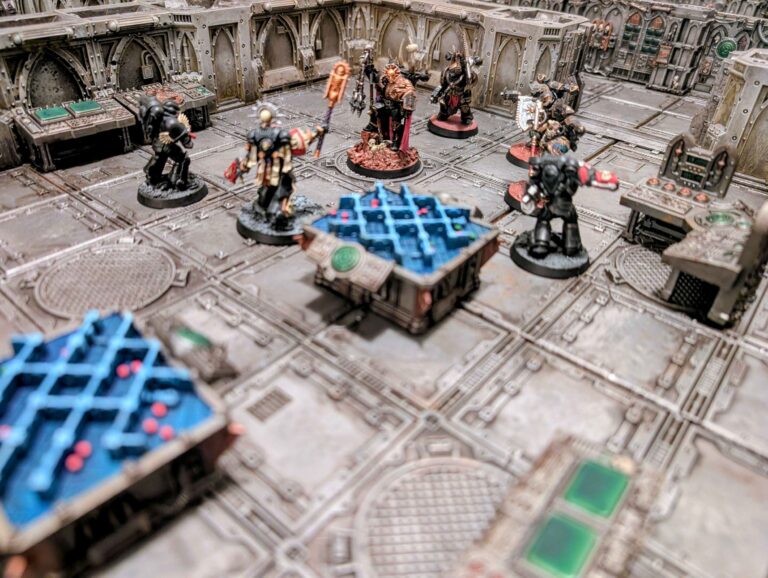
Adapting the Gallowdark terrain was trickier. The different wall sections don’t match up to the ZM dimensions, necessitating some cutting where there was a section break at a tile edge and filling any gaps with modelling putty. Though the walls were placed roughly along the ZM areas, they don’t all line up perfectly, which limits some of the modularity of those four tiles.
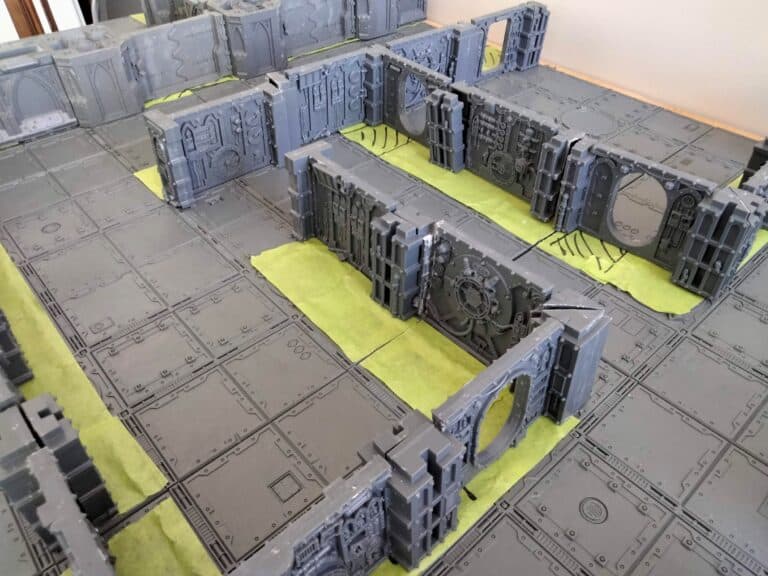
They also did not glue down smoothly. I clipped away any larger floor nubbins along where I was to glue down the Gallowdark walls, plastic glued down the walls, and pinned them to the tiles. I was careful to trim the pins so they weren’t protruding down too far, as that would snag on any battlemat I leave underneath, probably ruining it in the process. There were still some gaps where the walls met the floors, and I filled these in with modelling putty: although they were difficult to see, light did come through making them obvious depending on the angle. I left the doors off, as I planned to paint them separately.
The Great Painting Disaster of 2024
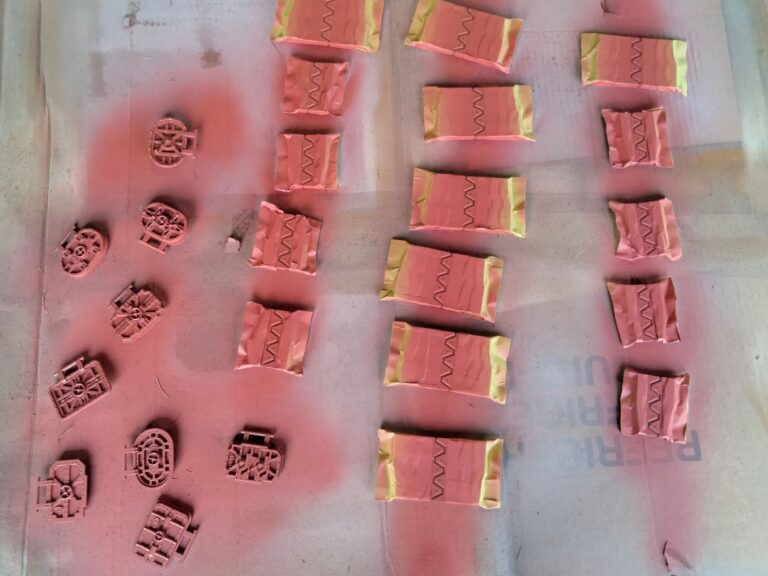
The plan to paint the board was straightforward: prime the floors and Gallowdark walls silver, tape off the floors, prime the ZM walls brown, zenithal spray the ZM walls beige, sponge on various browns or oranges for dirt and rust, paint screens and skulls on the Gallowdark terrain (big thanks to Jacen, Greg and Elton for helping with those), and then oil wash the whole thing. For the doors, they all had red incorporated into them: the Gallowdark doors were primed wholly red and the ZM doors primed silver, then taped off to spray a red stripe down the centre. I got everything primed when the weather was right and then set aside a Saturday to oil wash the whole board, plus some other terrain, and then follow the fairly standard technique of wiping away the excess oil paint and leaving it in the recesses.
I wrote about what happens next, but the lesson is important enough it bears repeating: I should have done a test tile. I did not seal the terrain with varnish and just applied the oil wash directly onto the primer, and I applied it gratuitously.
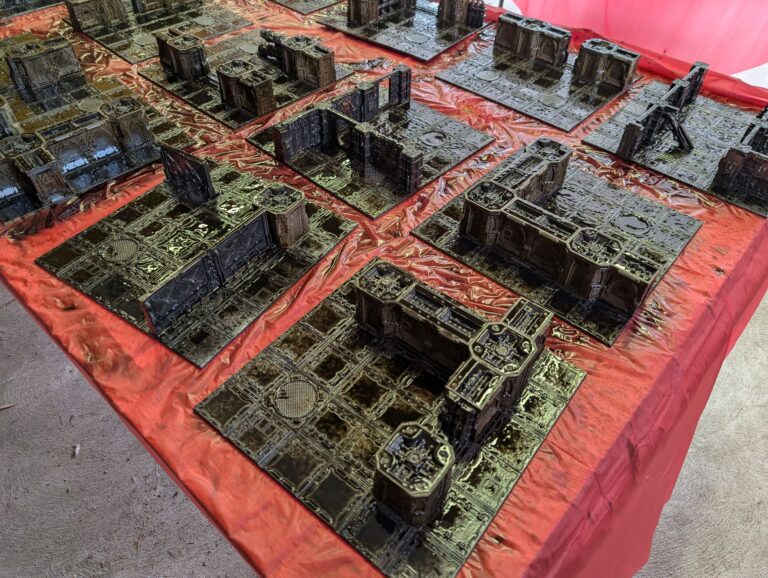
I won’t say which idiot youtuber’s advice I followed to not seal the terrain, but he’s a popular one. At the end of the day, paint is a bunch of chemicals, and different types and brands of paint will interact differently. I used Vallejo spray primer for the ZM board and when I went to wipe away the oil, the primer went with it. Conversely, the other terrain I had painted with GW primers and paints was fine with the oils (with the exception of some small details done with contrast paints). In the end, I wiped away as much of the oil on the tile floors as I could (where the grey plastic showing through was difficult to differentiate from the remaining silver) and left the walls with the splattered brown/black oil wash.
That was two years ago. And for most of those two years, the board stunk to high hell.
From the basic research I’ve done online, oil paints don’t dry in a traditional sense but oxygenates, meaning the only way for them to cure is to be exposed to air for long enough. And if the oil is applied too thickly, it can take a very long time to dry, if ever.
I left the board sitting out in a barn for months and by the time I had to pack it up to move, the smell of oil was still incredibly strong. Not only that, I was worried a residue was rubbing off on my hands every time I touched it. Eventually, I read that in some cases oil paint can cure from heat, so I set up the table in my game room and ran a dehumidifier in the confined room for a week. In addition to drying out the room–something I hoped would help–it also raised the temperature noticeably from the rest of the basement. But after a week, it still smelled.
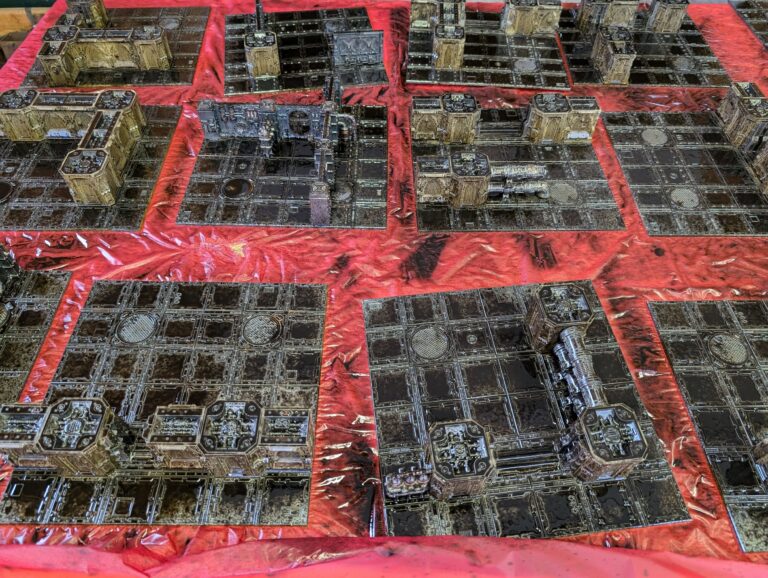
My final effort was to set up the terrain in the garage when we went away for a week. This was a long shot, as the board had already been set up in an enclosed barn, but that had been over the fall and winter, not the summer. And it just so happened that week was a heat wave.
I don’t know if that week was just the final few days for the board to oxygenate or if the heat cured the oil, but when we got back, the smell had finally subsided (I even asked my wife to check in case I had become inured to it). As a last step, I sealed the terrain with matte varnish, just in case. I felt this was a bit of a risk as I’d already thrown a lot of chemicals at it, but I didn’t want to be double checking my fingers every time I touched the terrain worrying it was rubbing off.
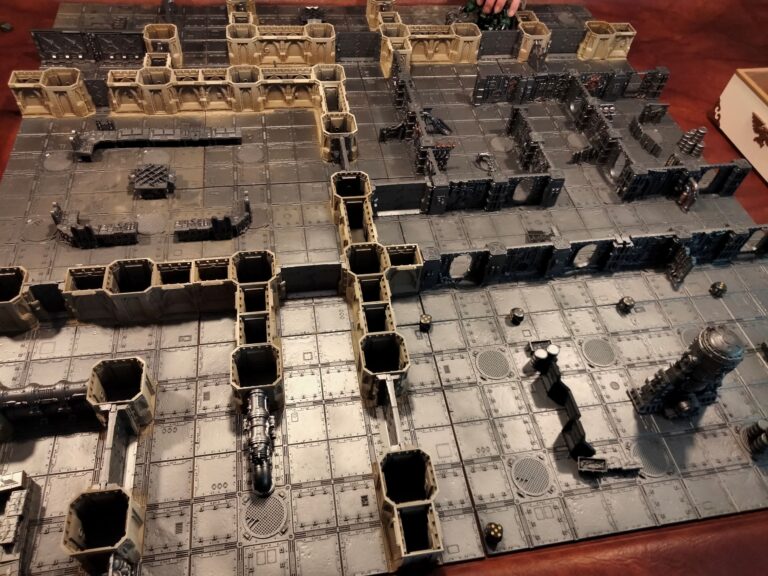
Changing course
With the oil disaster finally remedied, I was still left with a half painted board, much of it splattered hideously with a brown/black wash. Rather than trying a new technique, I went back to the tried and true method: drybrushing.
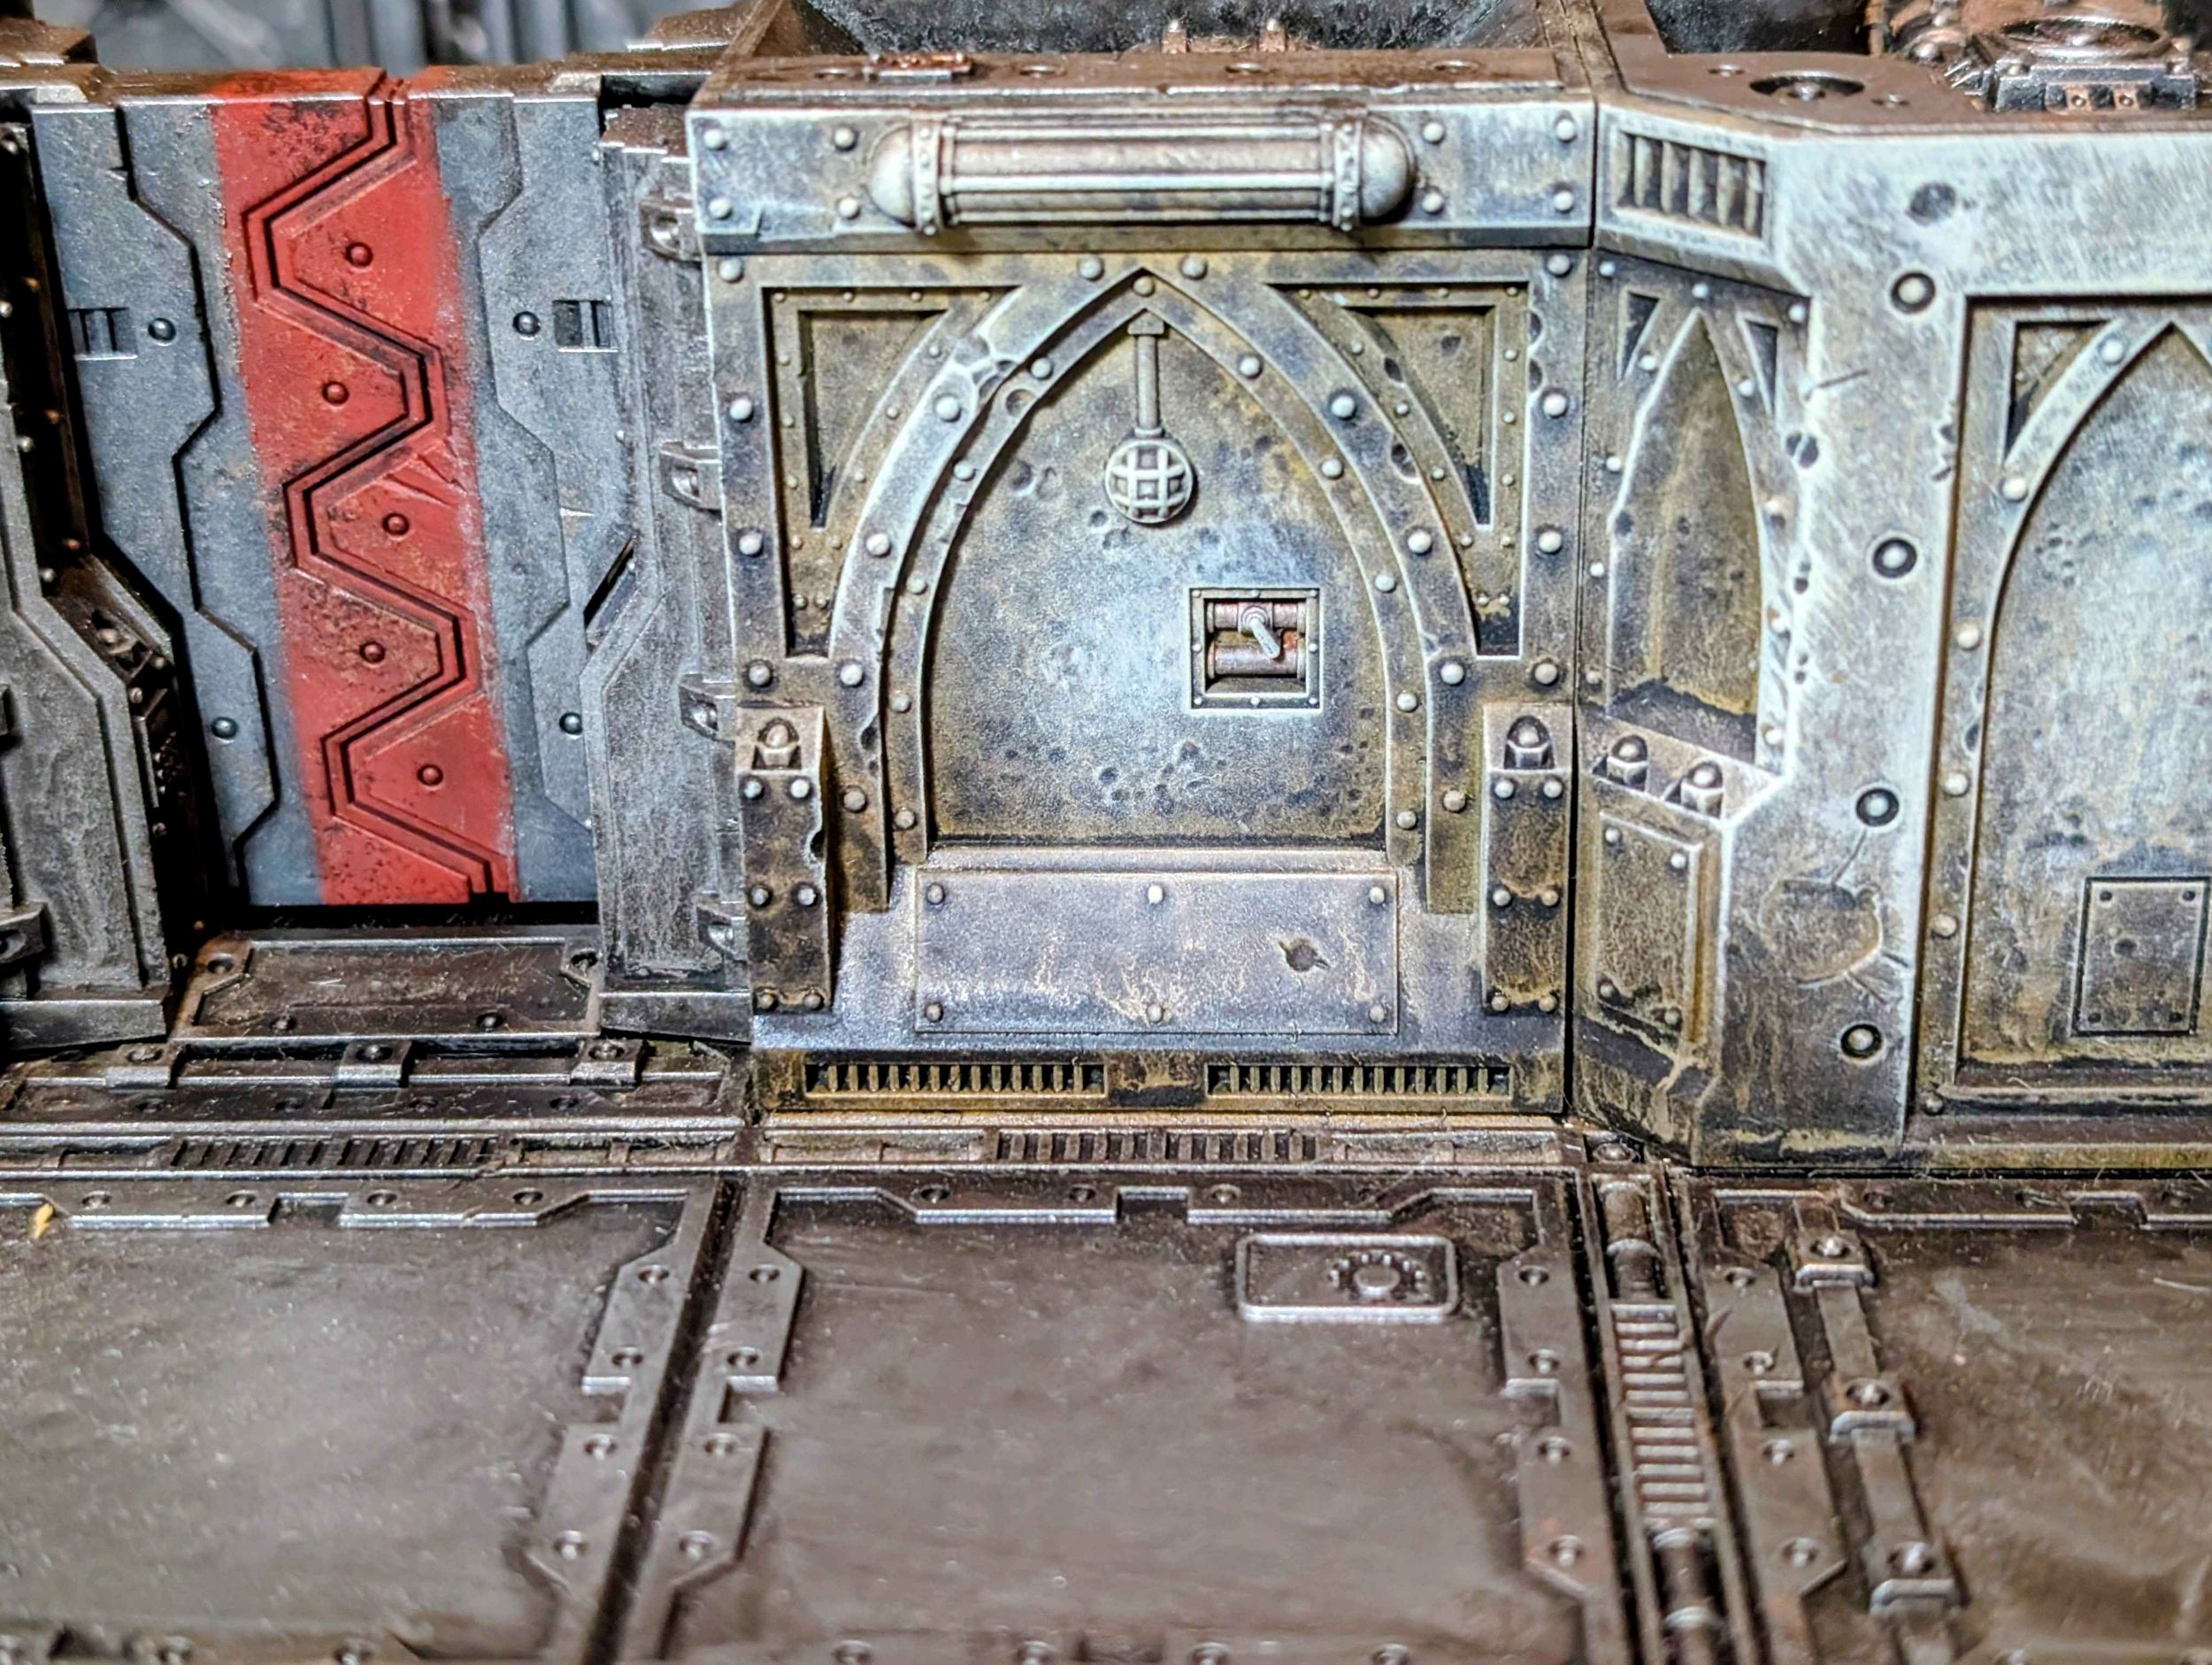
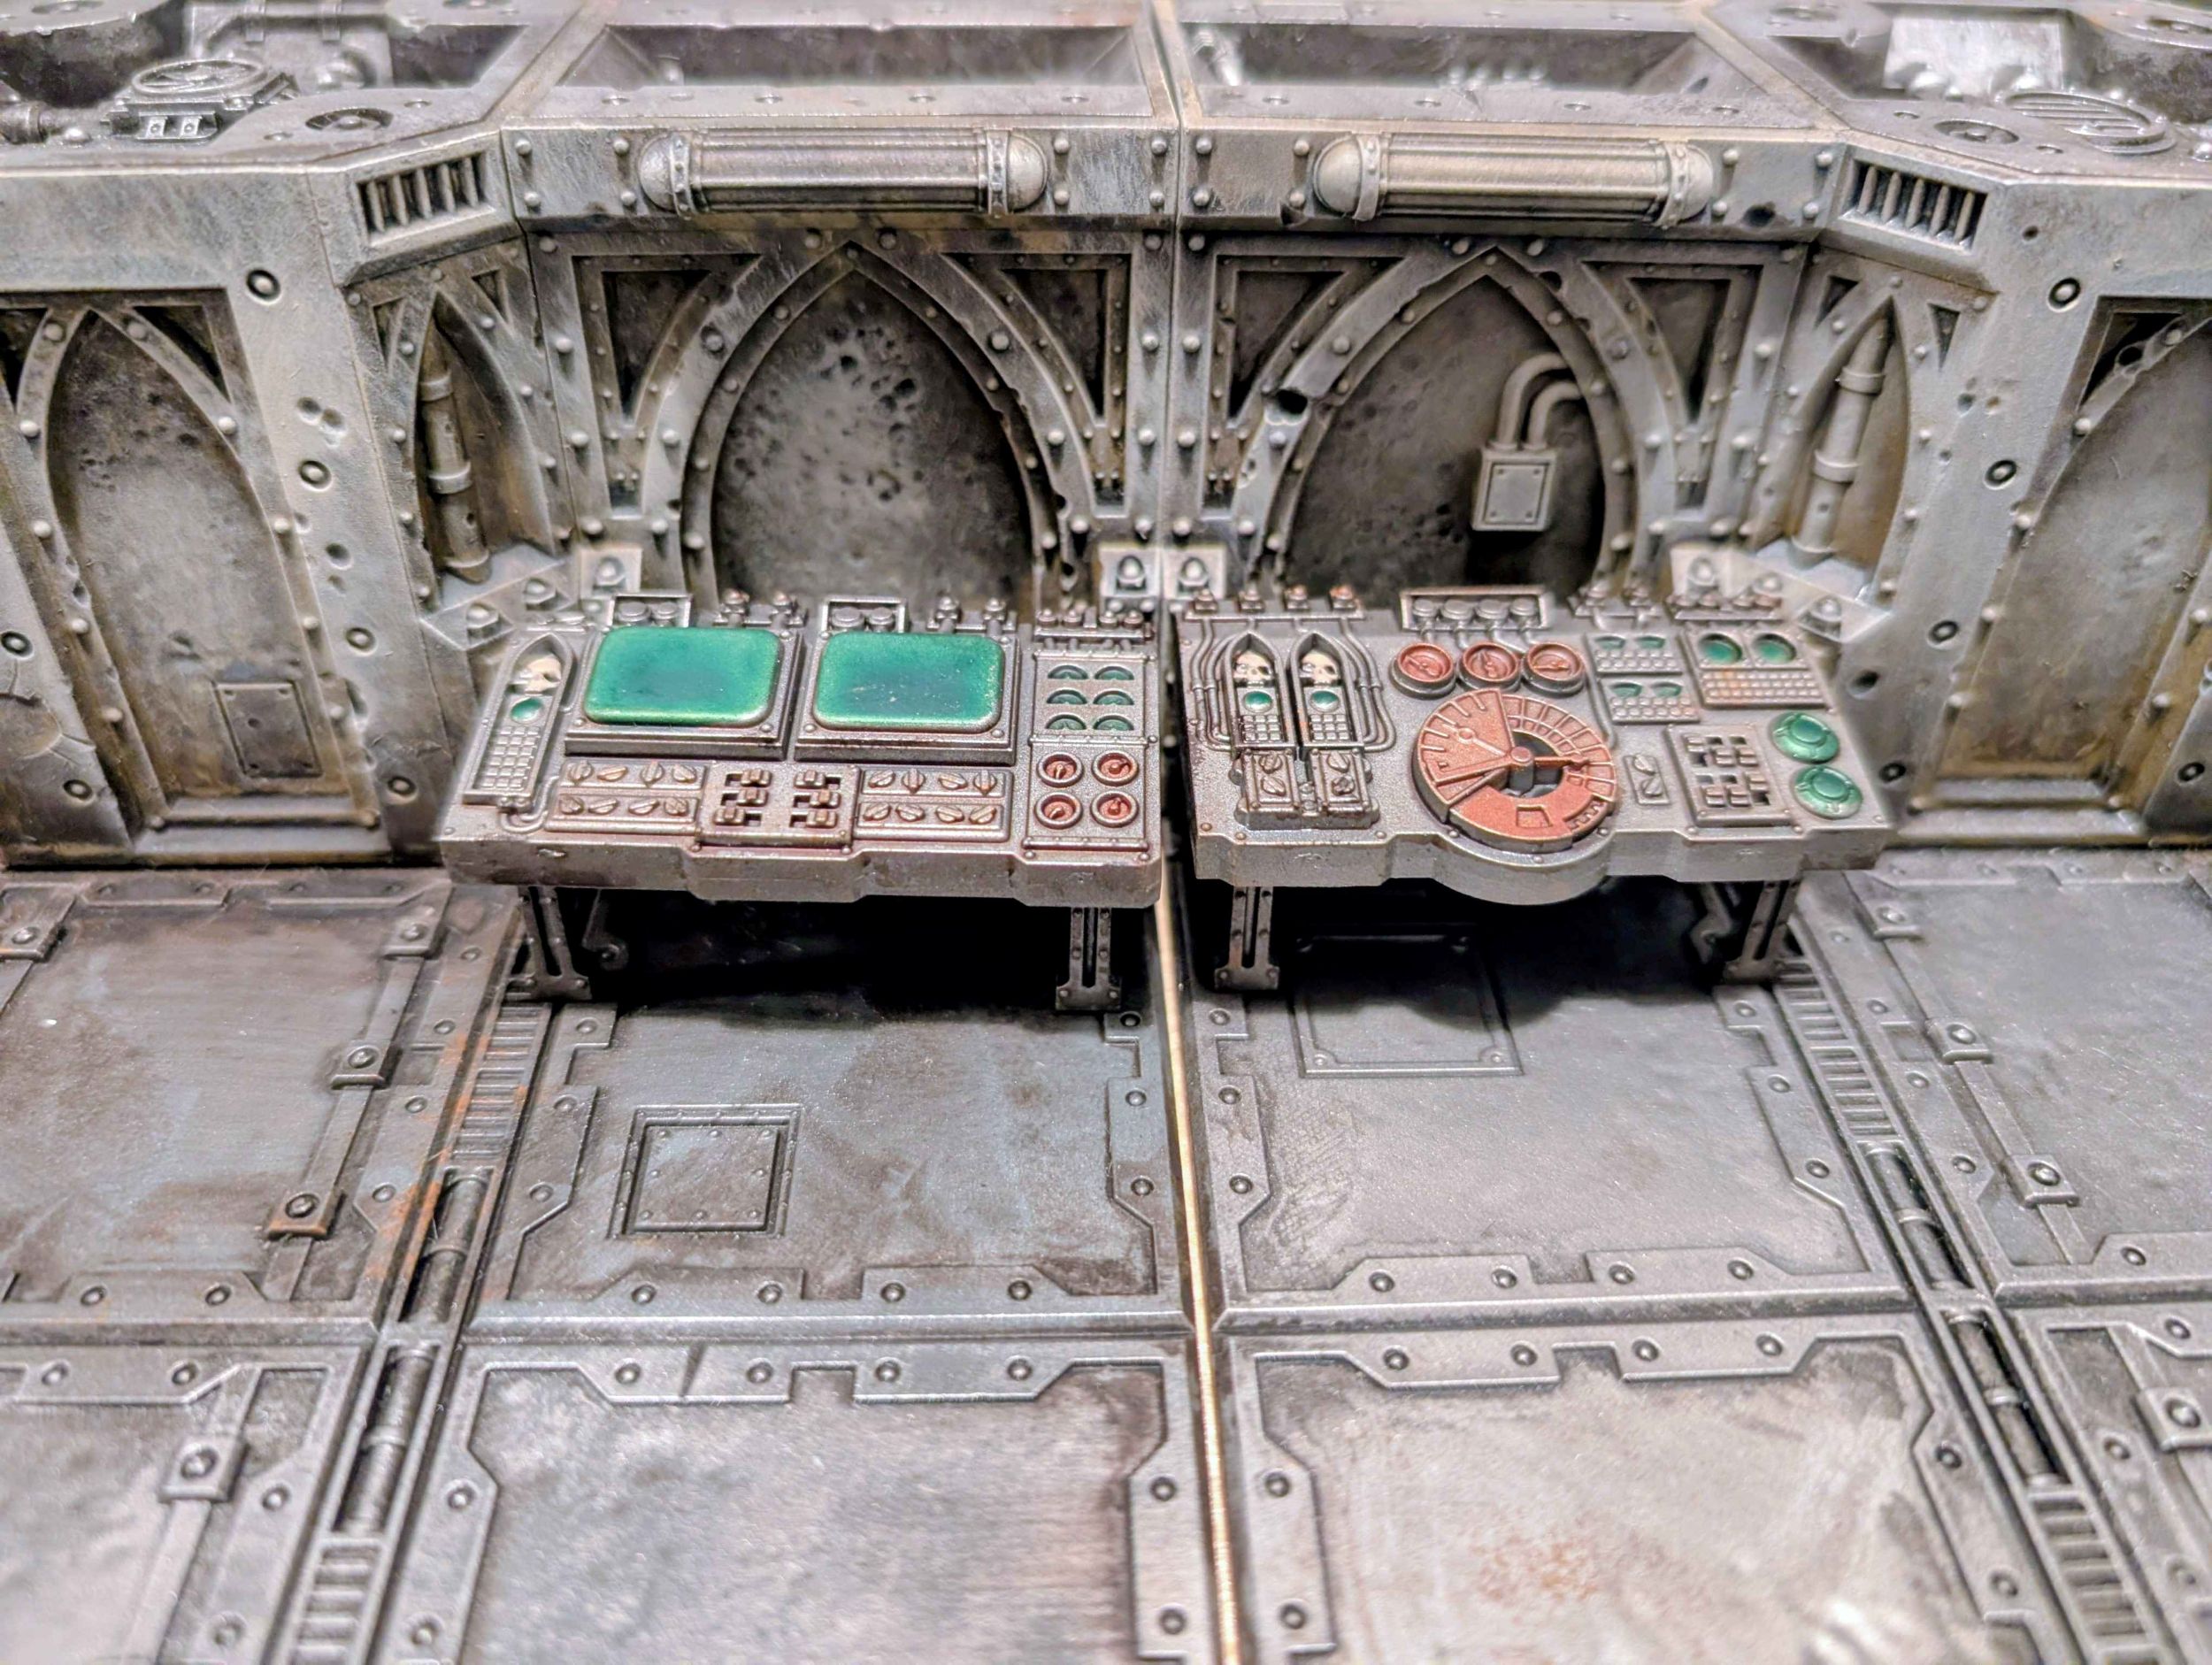
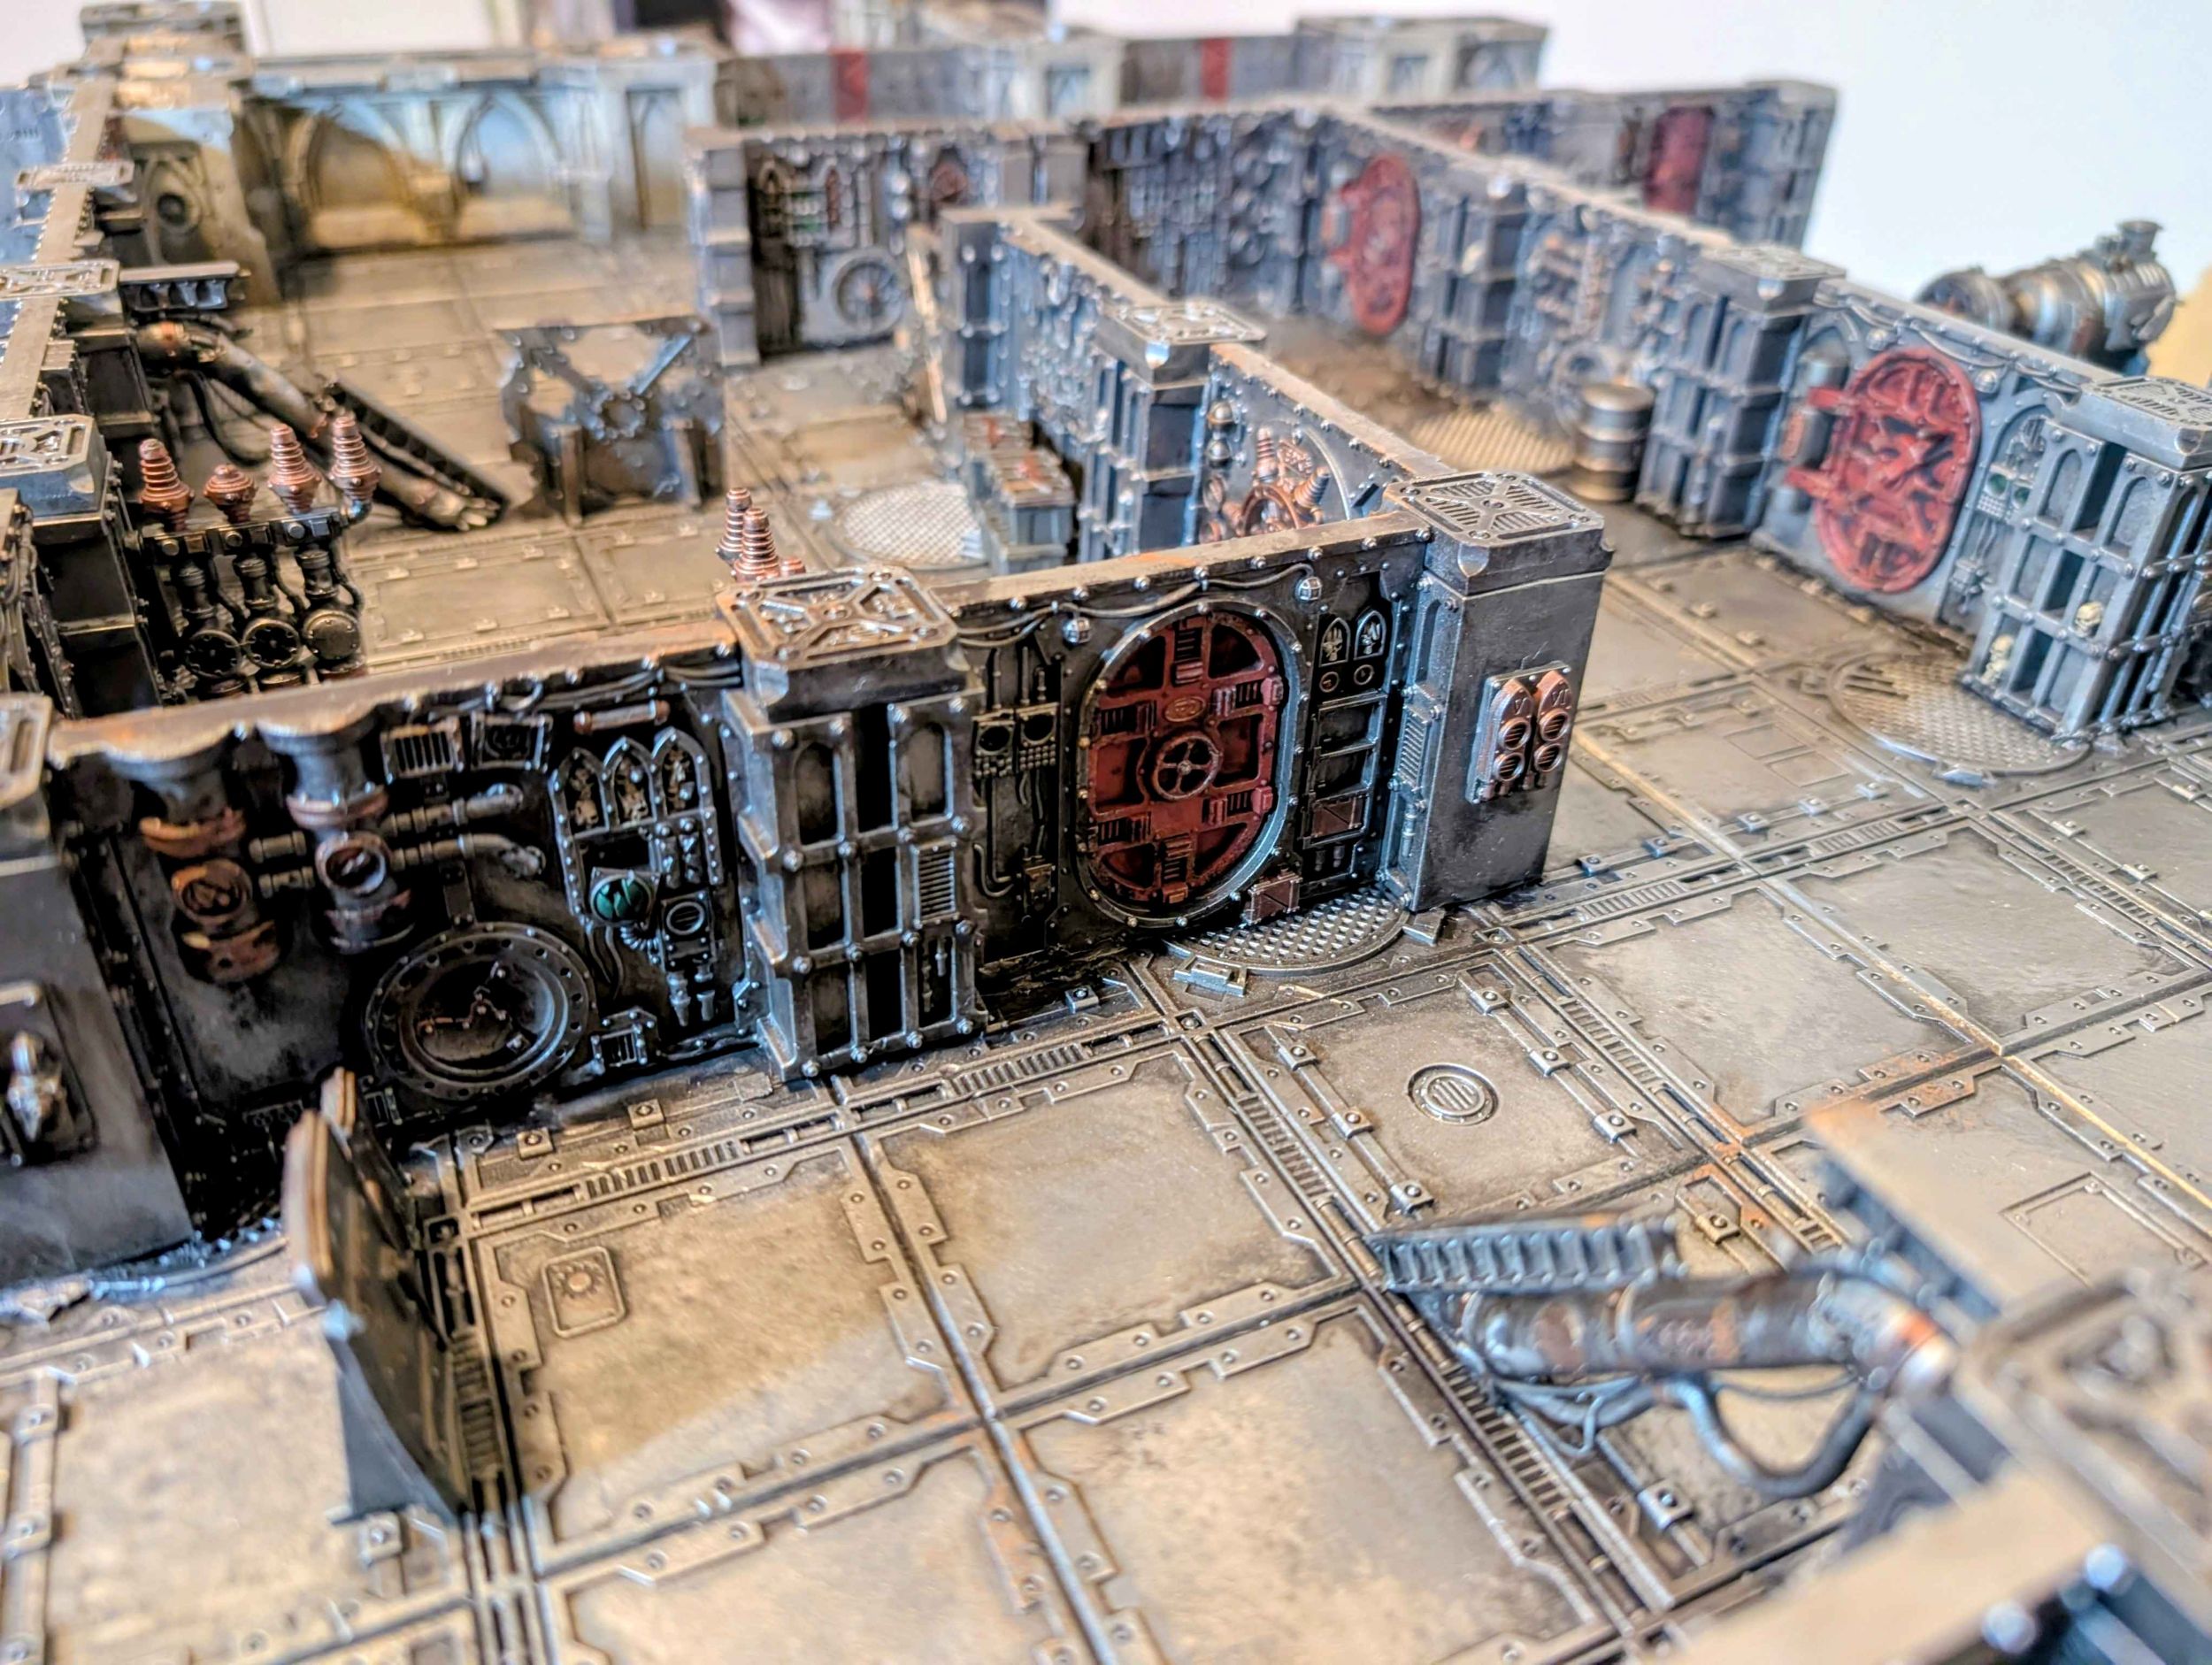
A lot of the floors had been wiped down to the bare grey plastic, which admittedly was difficult to tell apart from the remaining silver spray, but it was visible if you looked closely. I heavily drybrushed (or overbrushed? I’ve never really learned the difference) all the silver portions Leadbelcher, making sure to cover the bare grey on the floors and doors, and cleaning up any areas that had a lot of pooled or splattered oil, such as some of the Gallowdark walls.
Most of the brown/beige walls hadn’t been wiped and had a serious swathe of oil. I drybrushed these Vallejo Bonewhite, focusing on the top half of the walls for the most part and leaving much more of the grimy oil near the bottom. This gave quite a nice look of decay and neglect, though don’t ask me to try and replicate it.
Finally, a lot of the scatter terrain was painted after the oil disaster and left with only the base coats completed. These I gave an all over wash of Army Painter Strong Tone and I just left it at that.
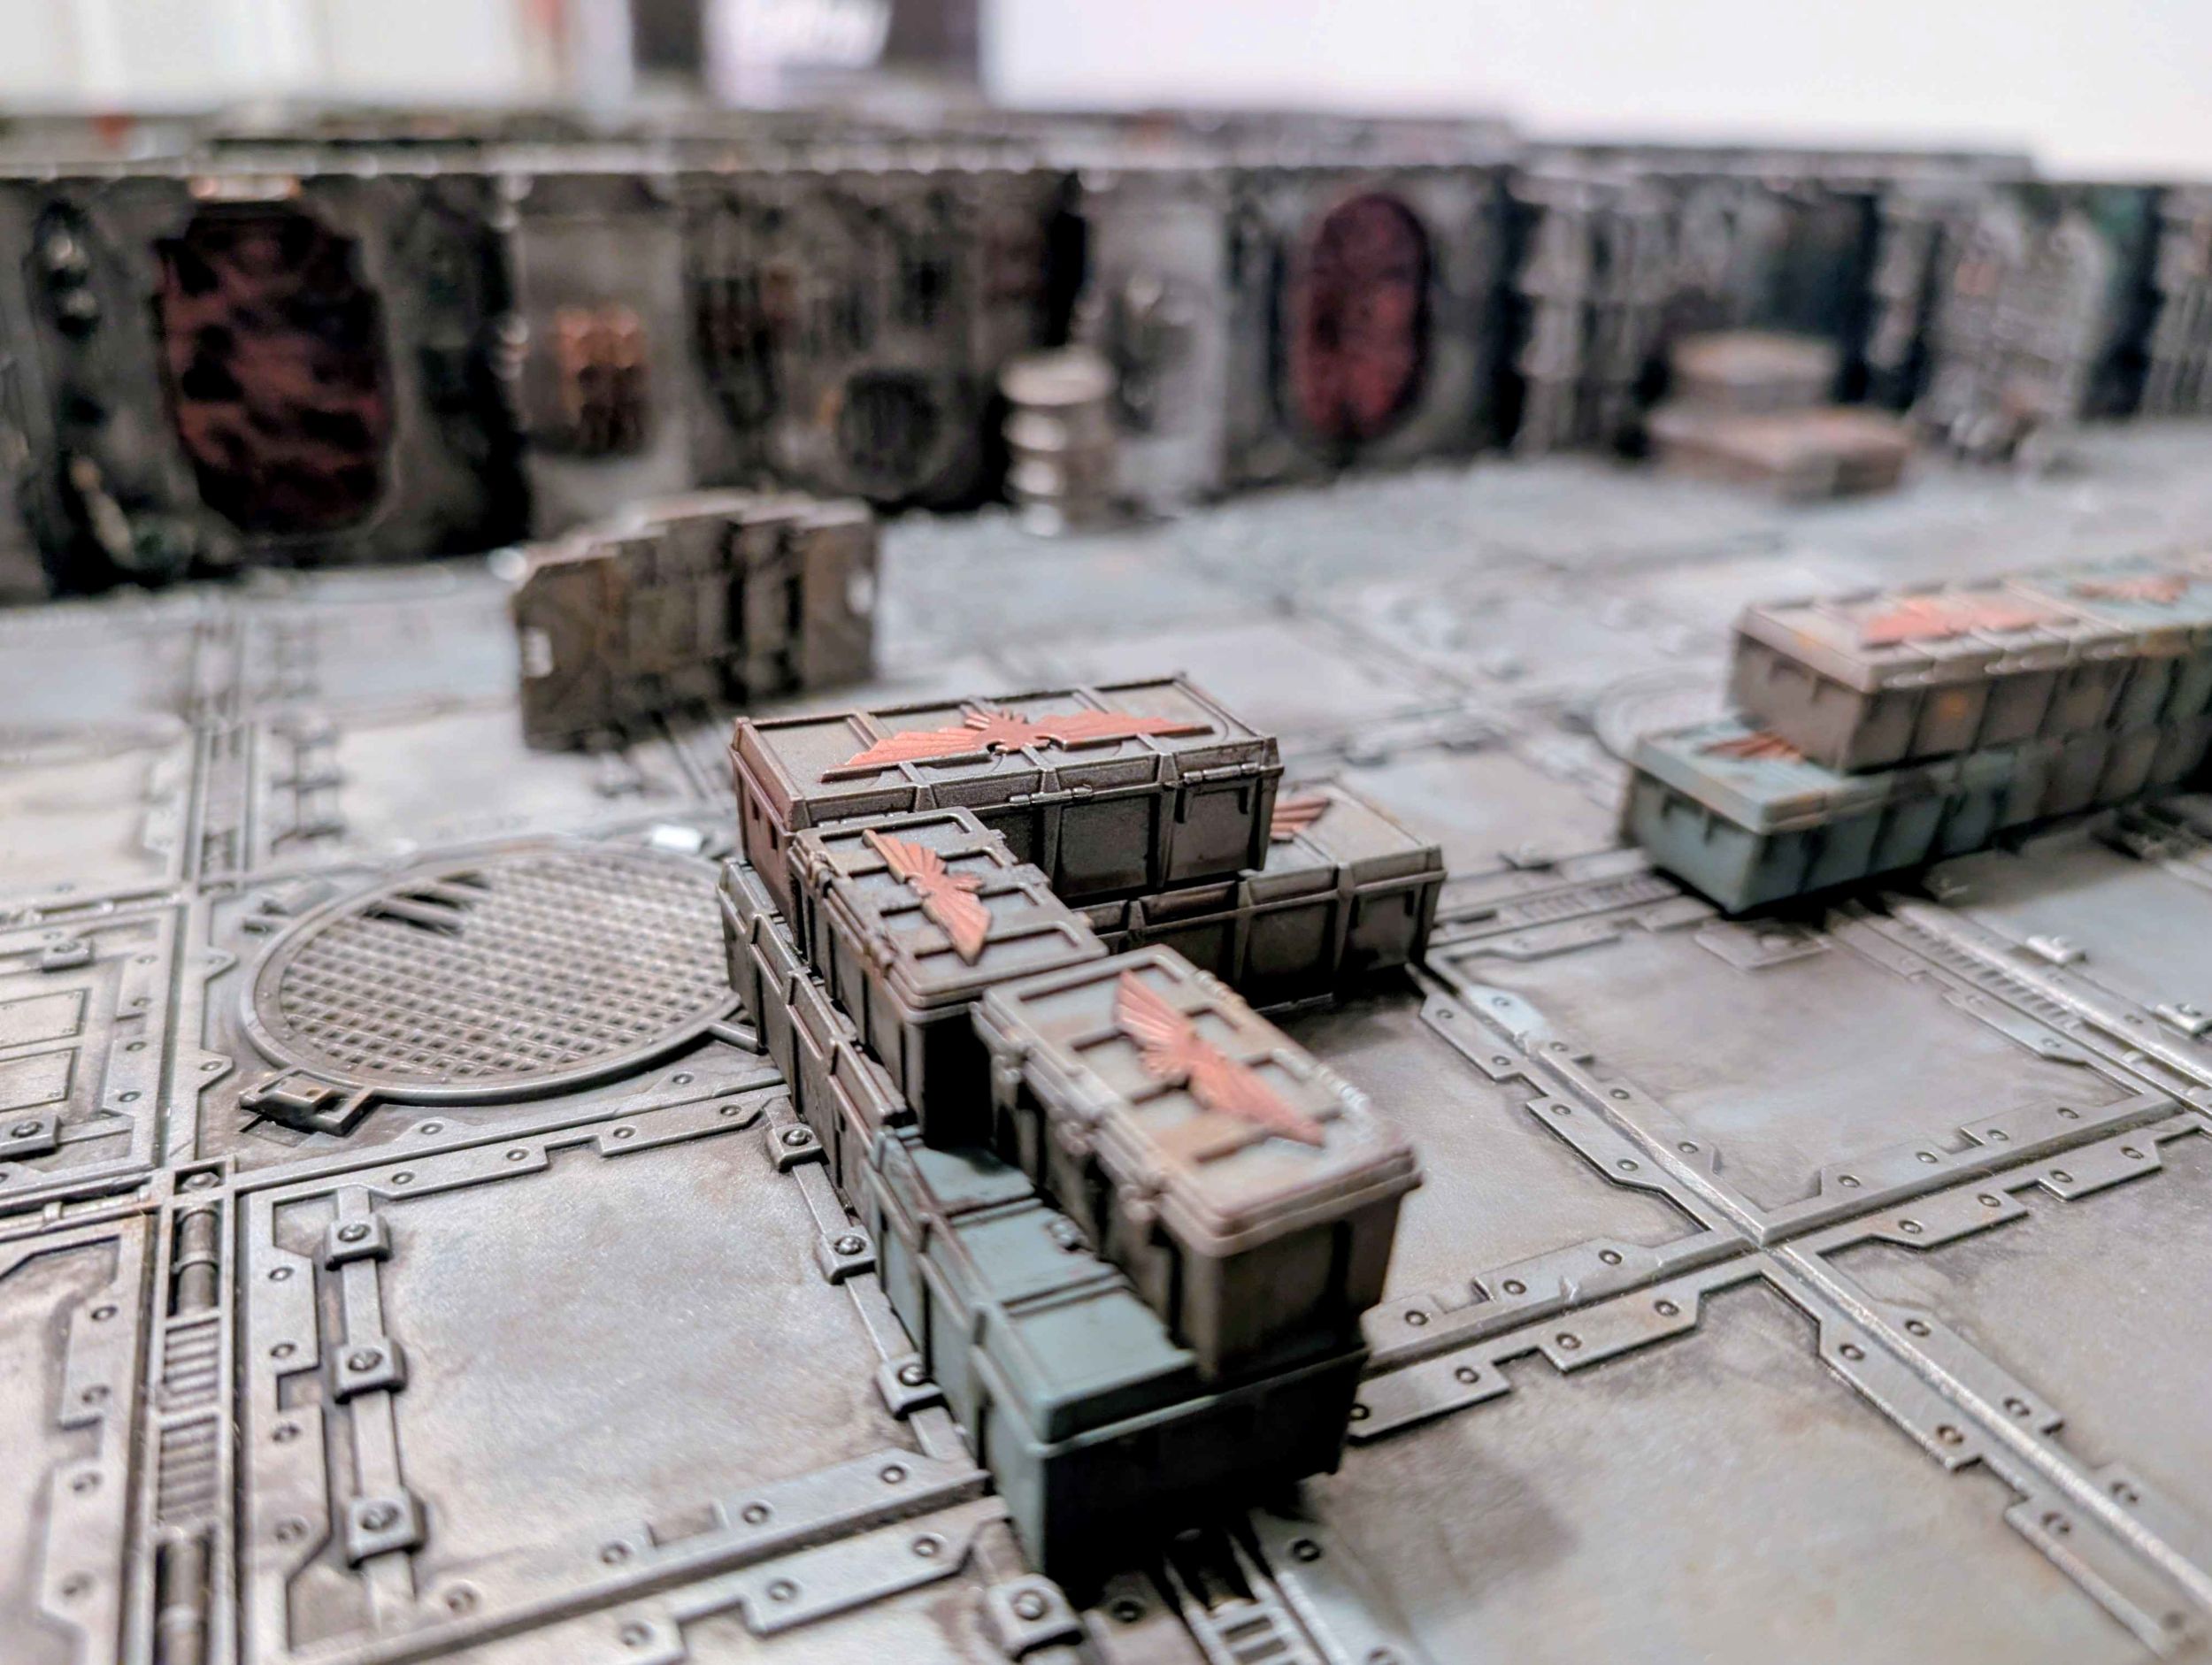
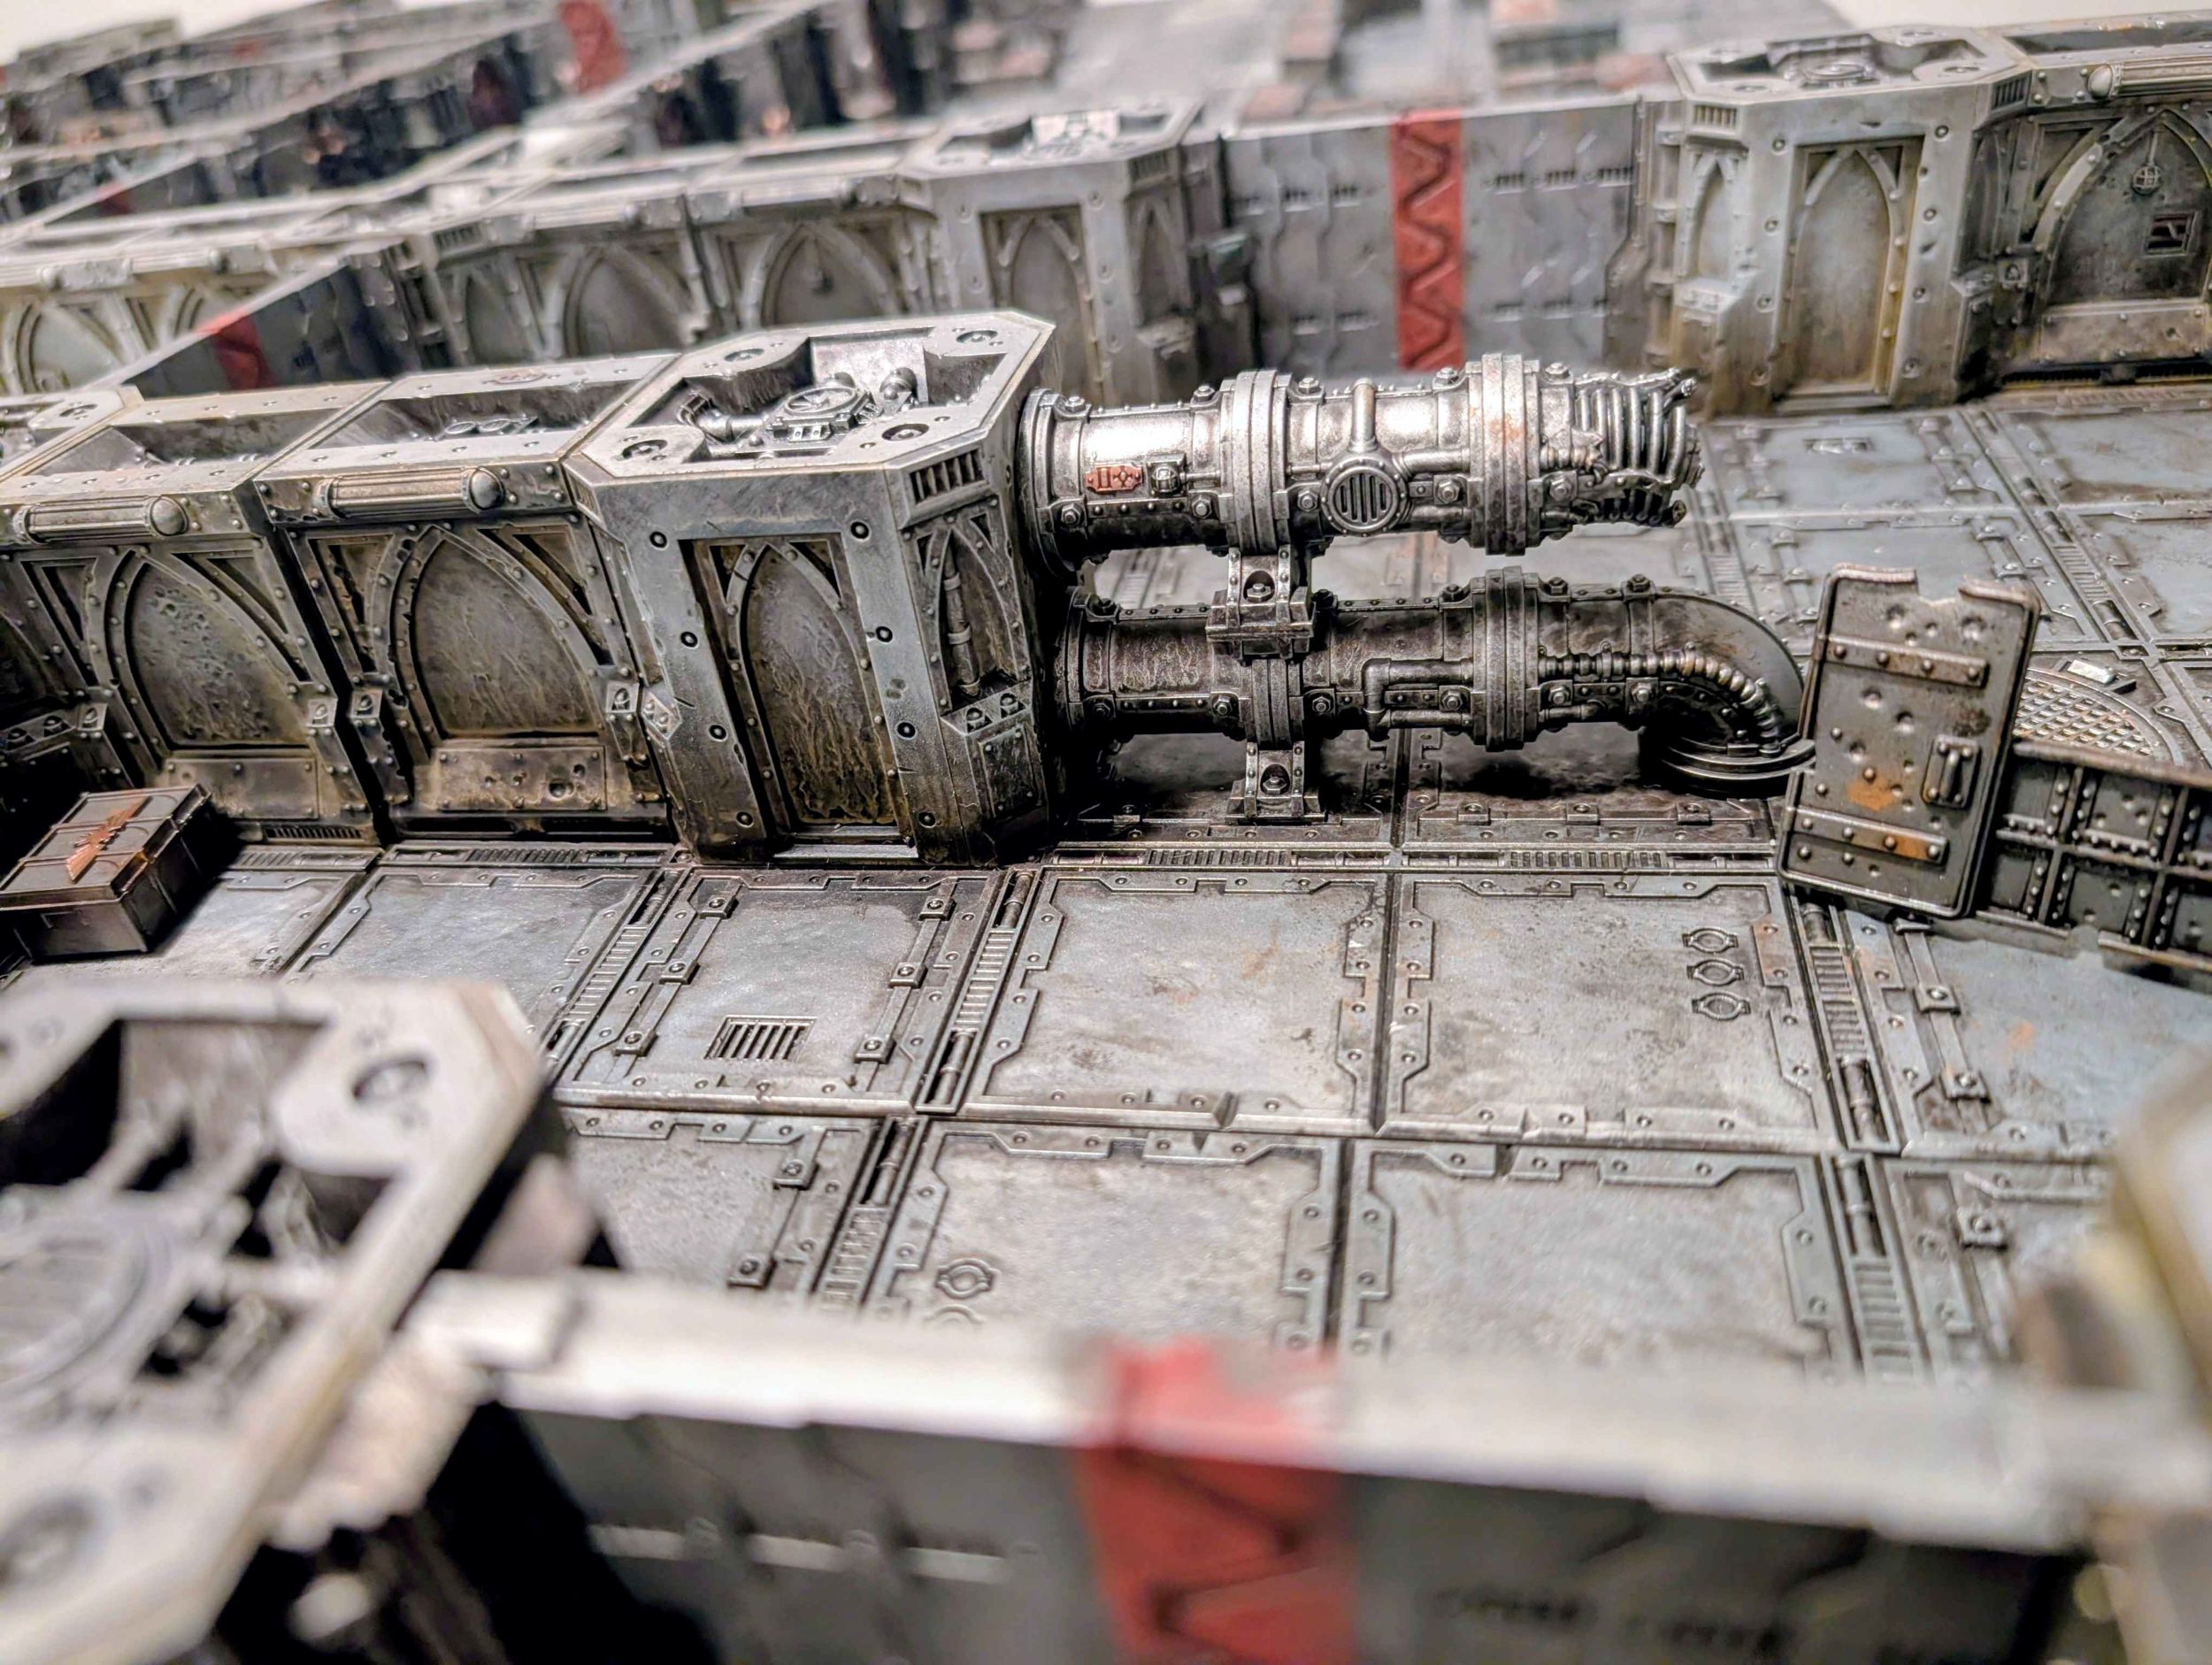
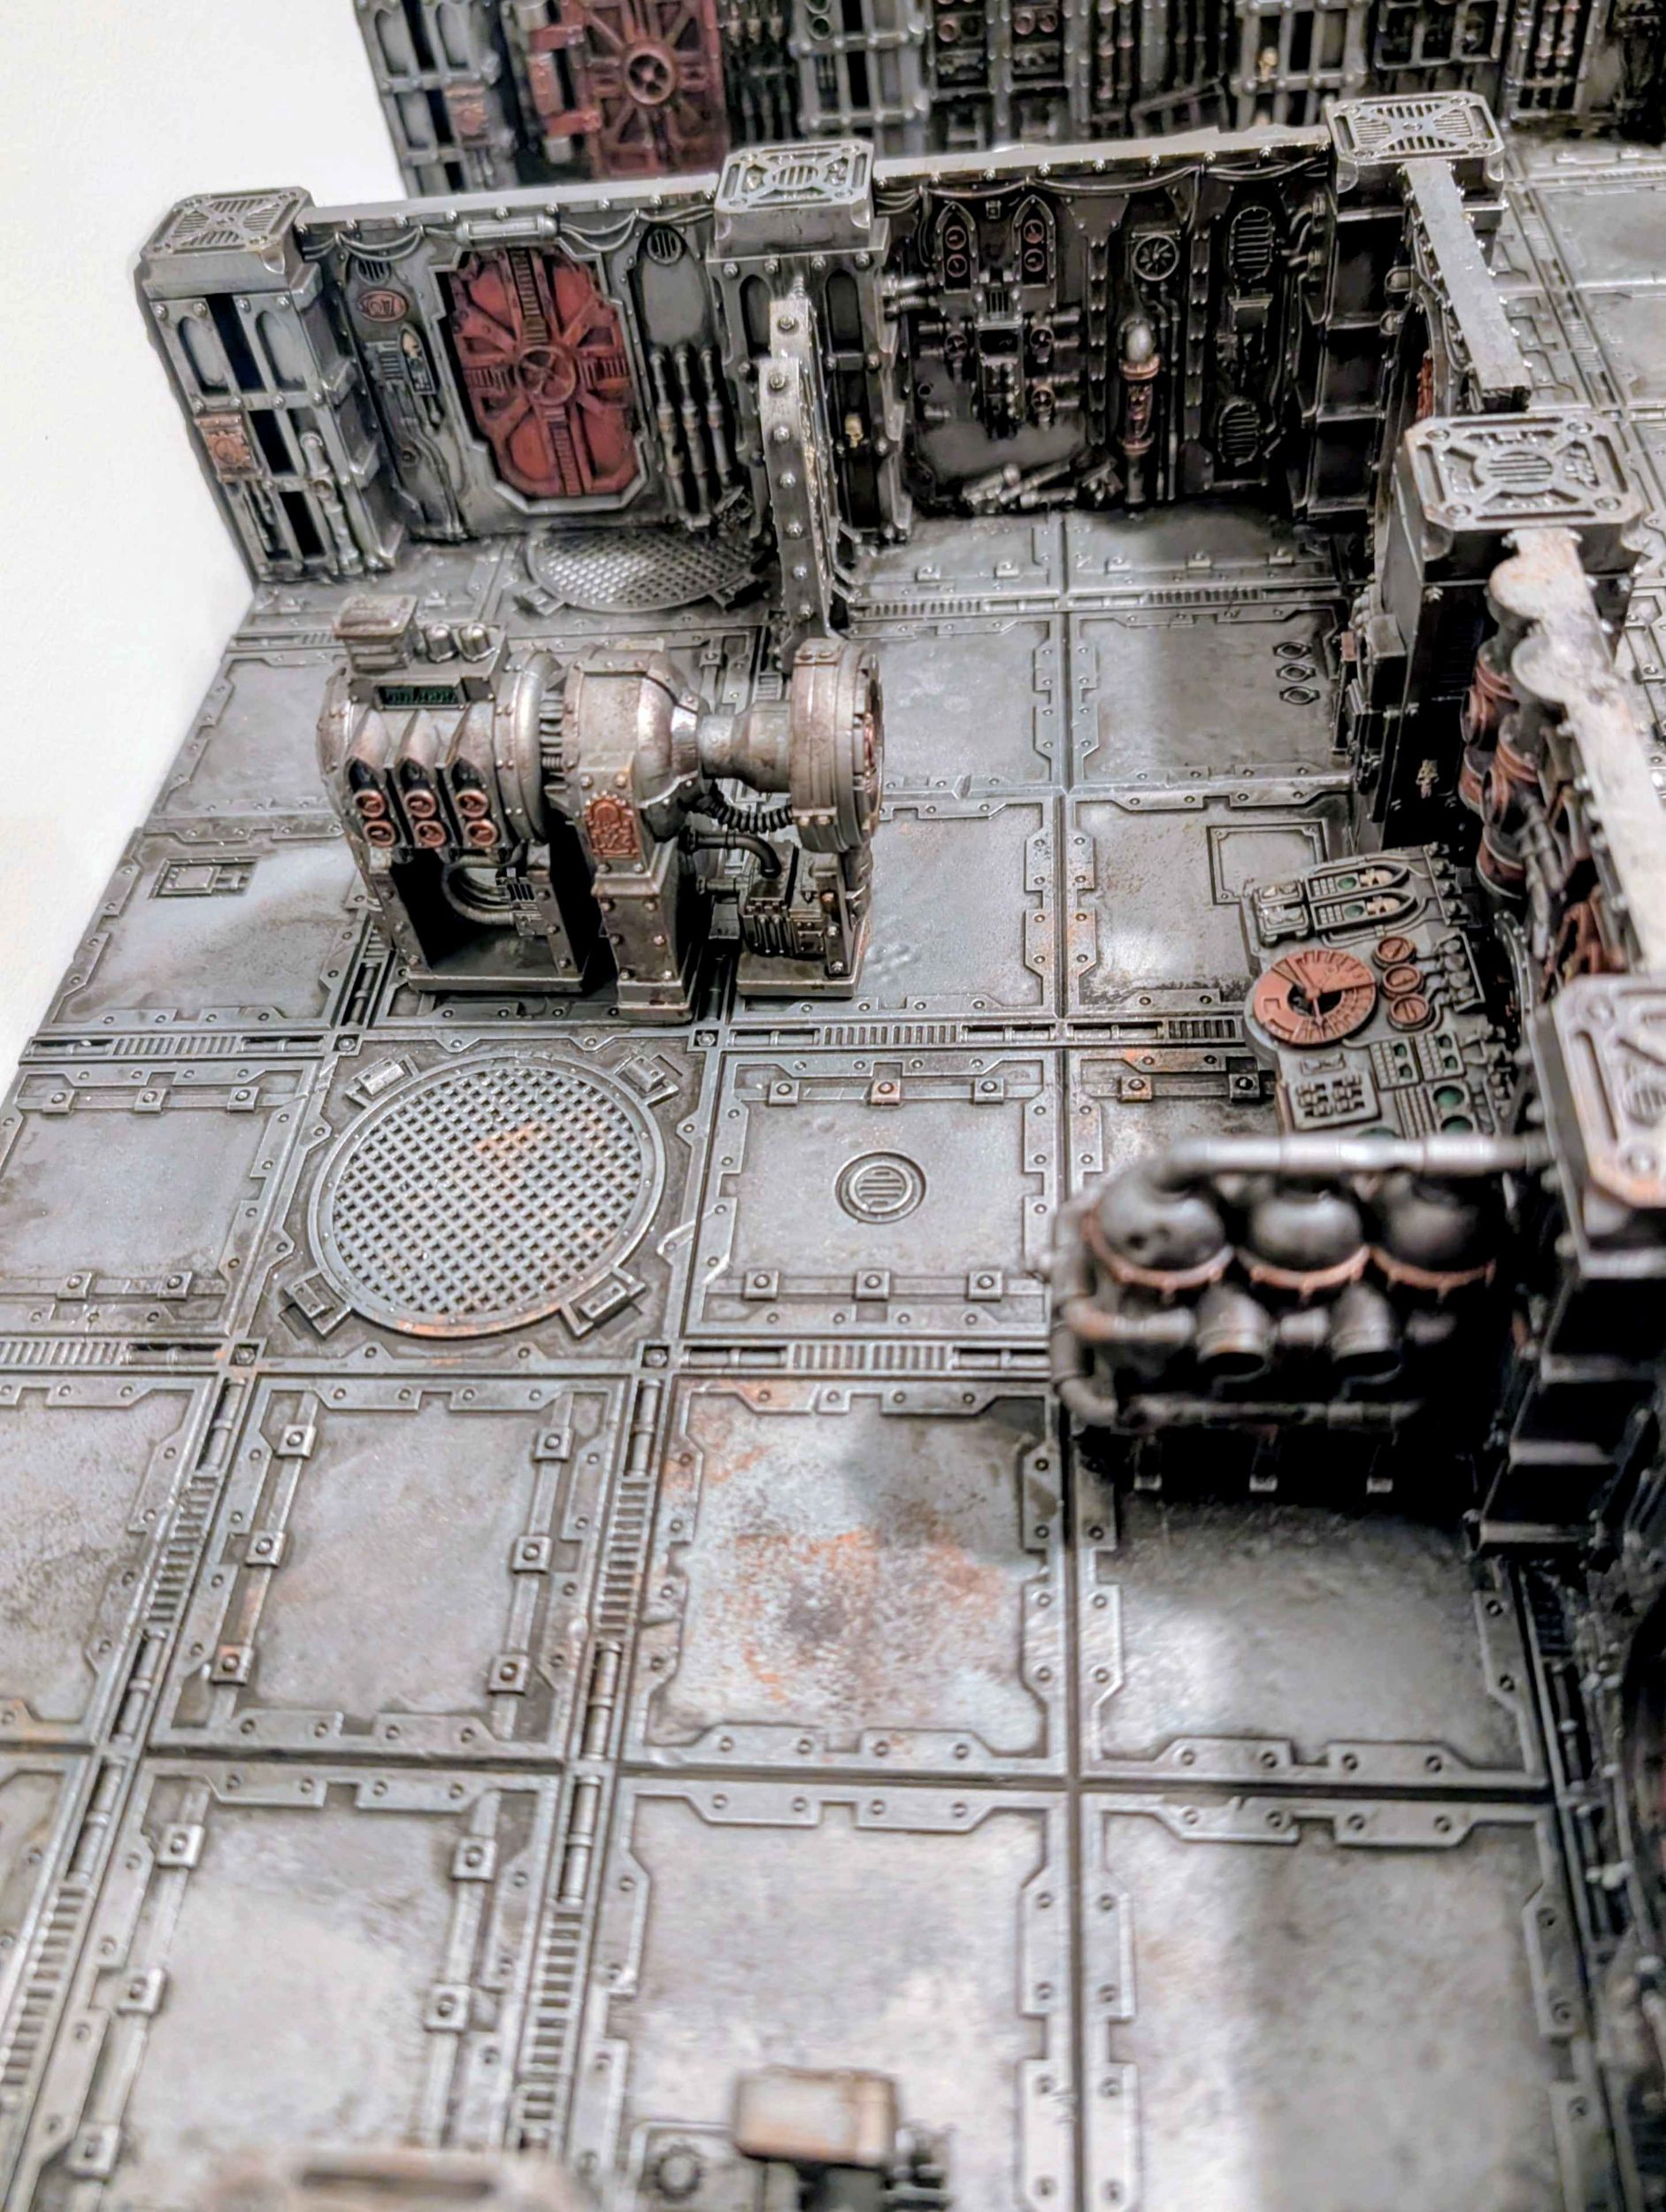
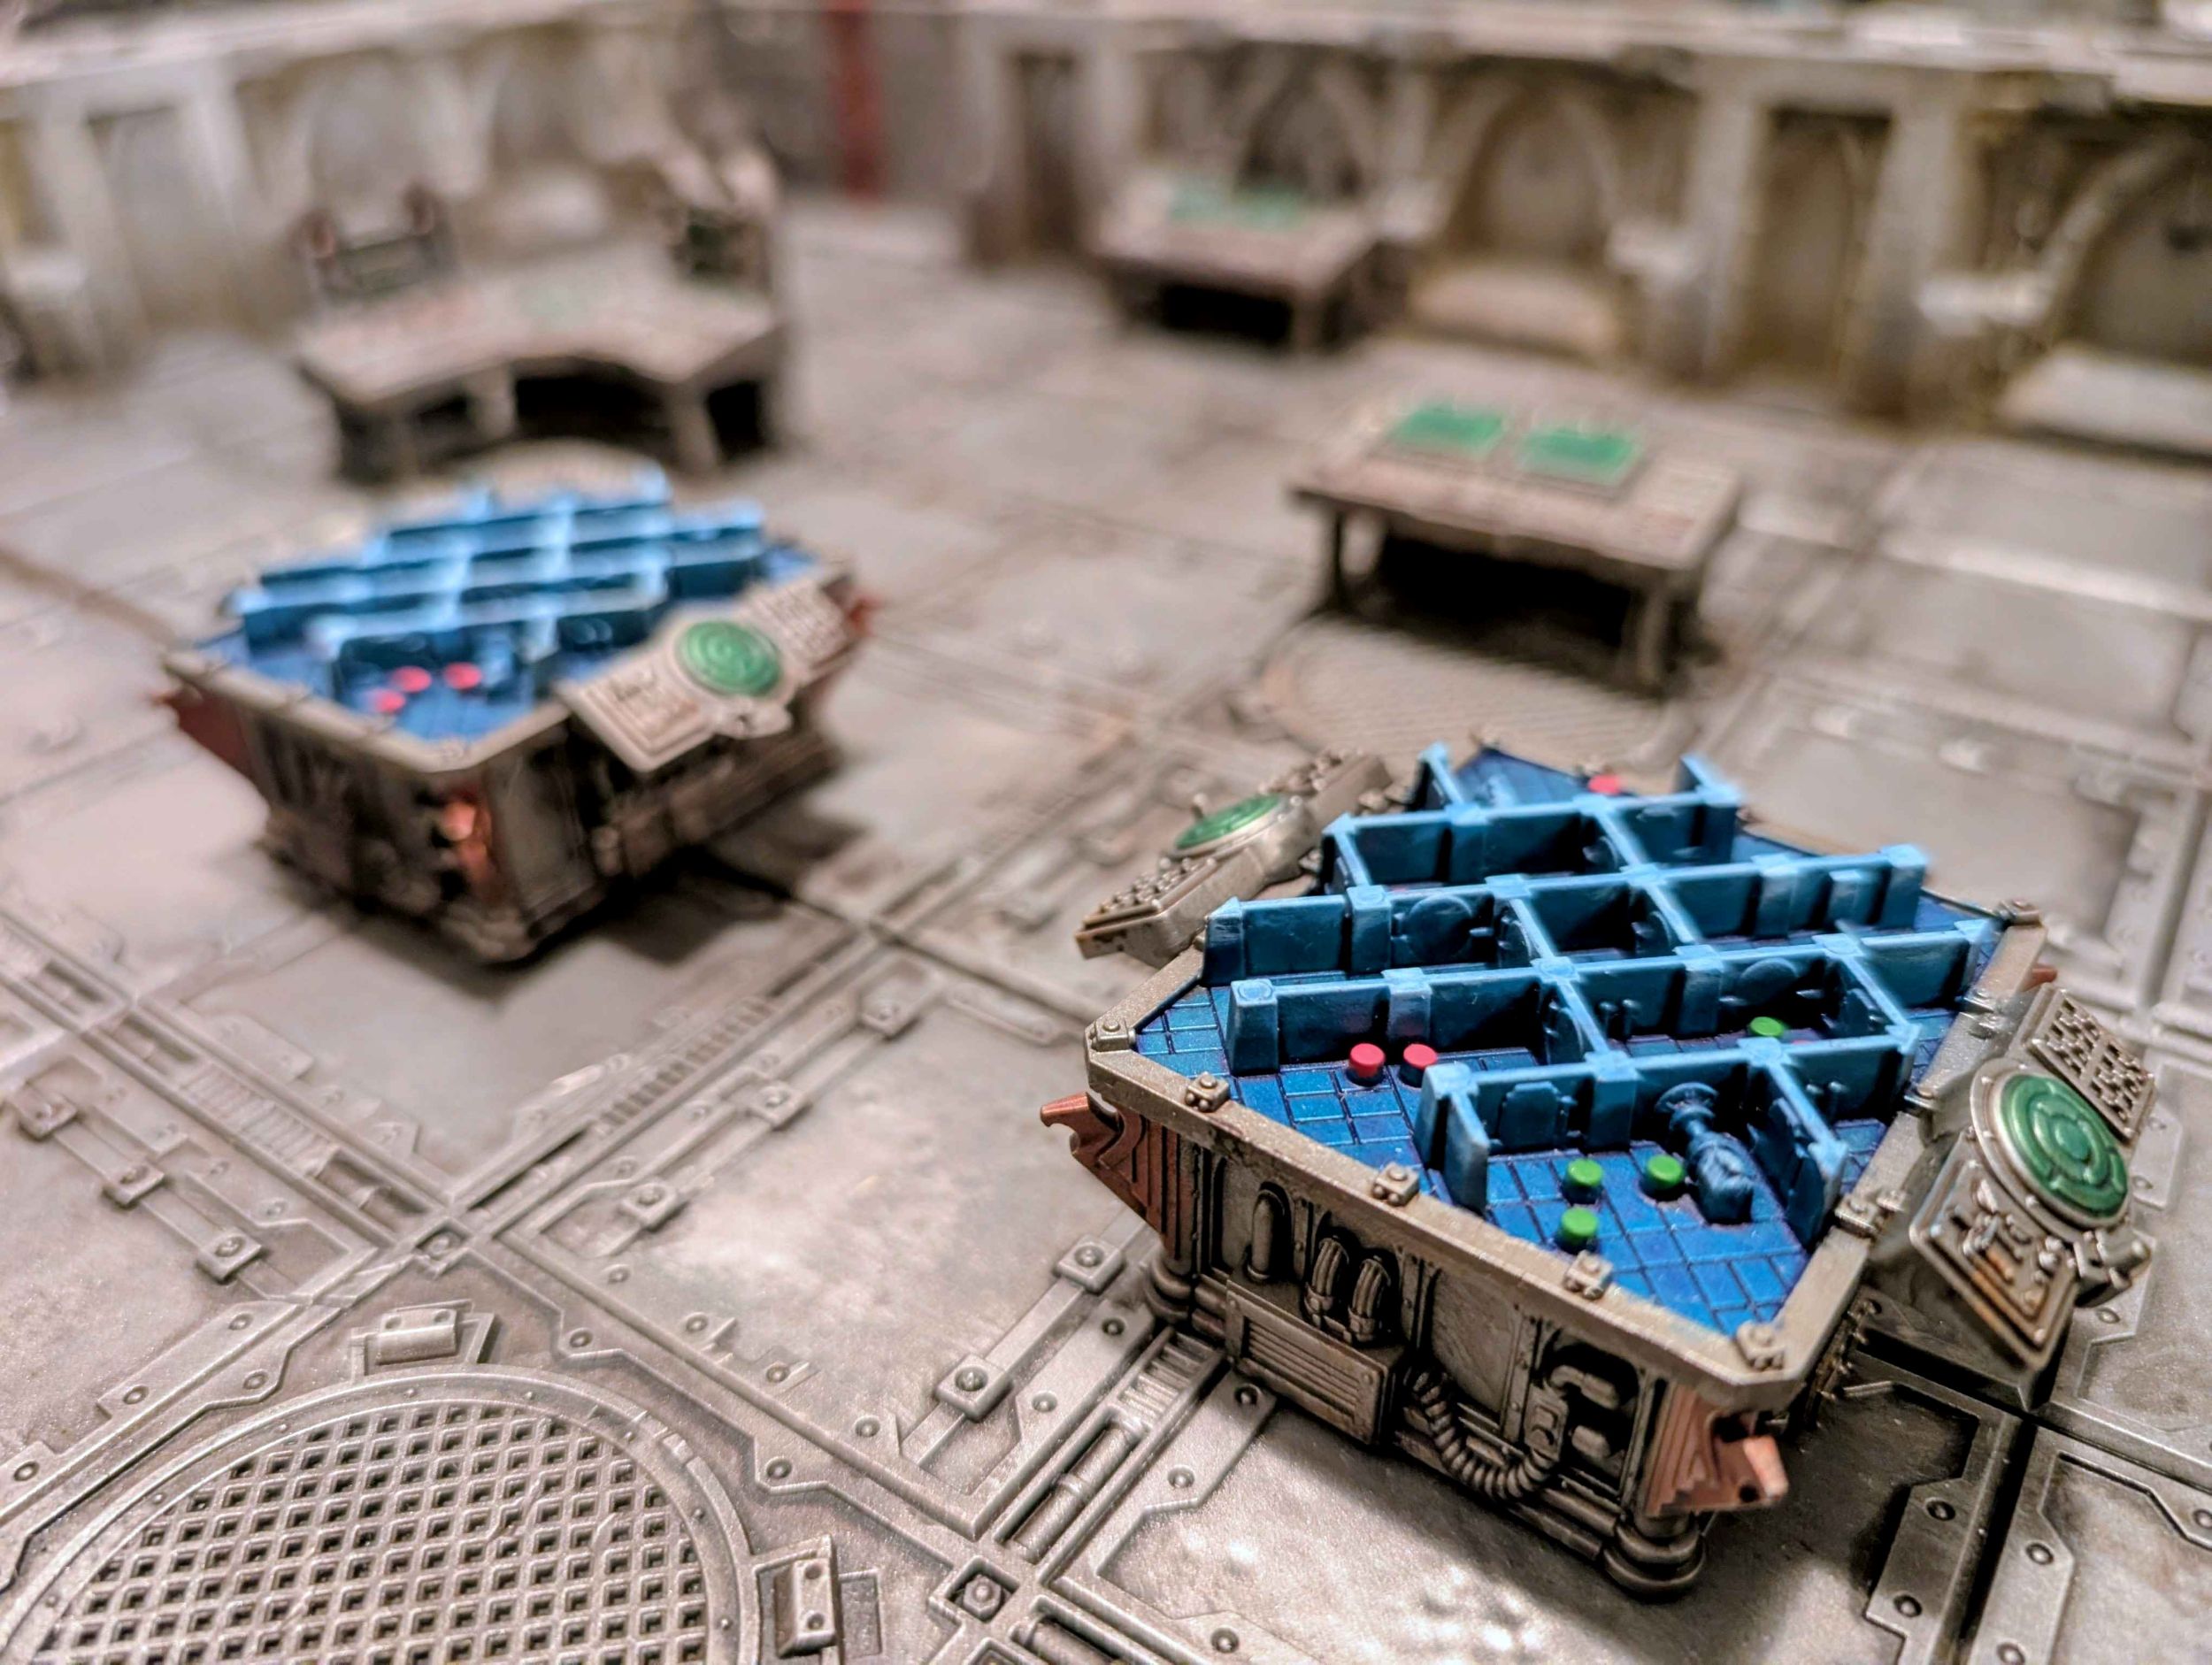
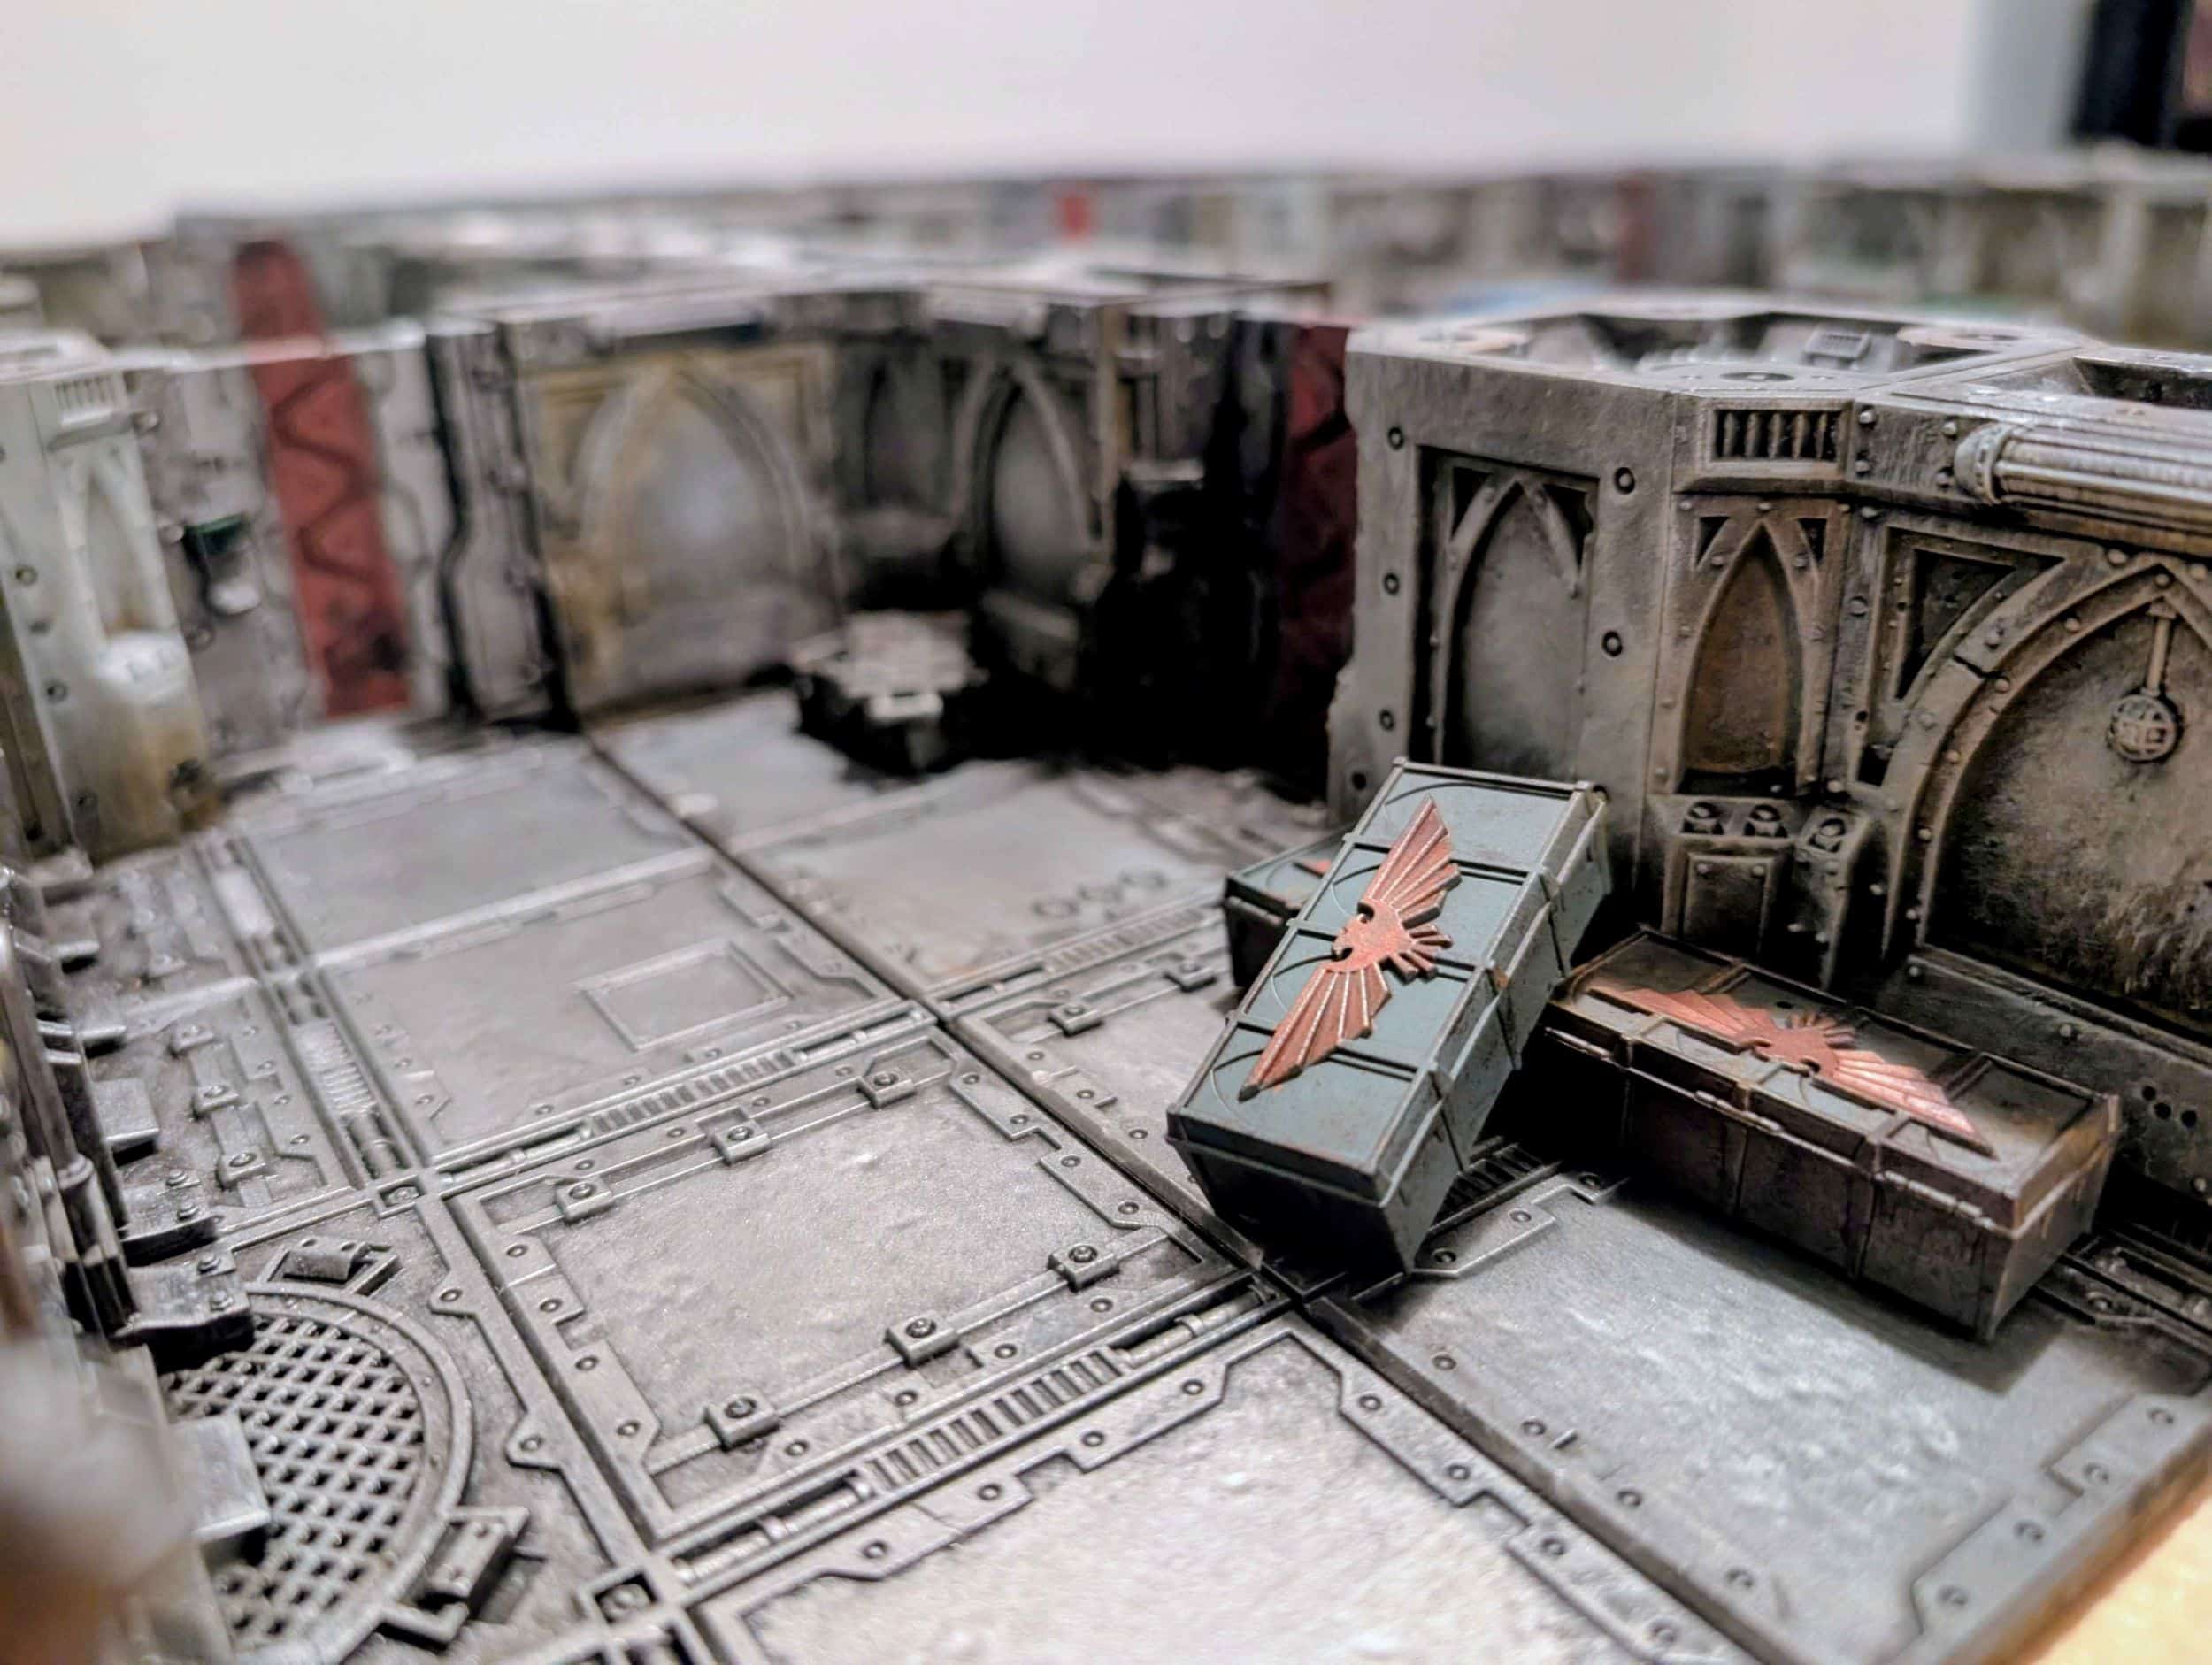
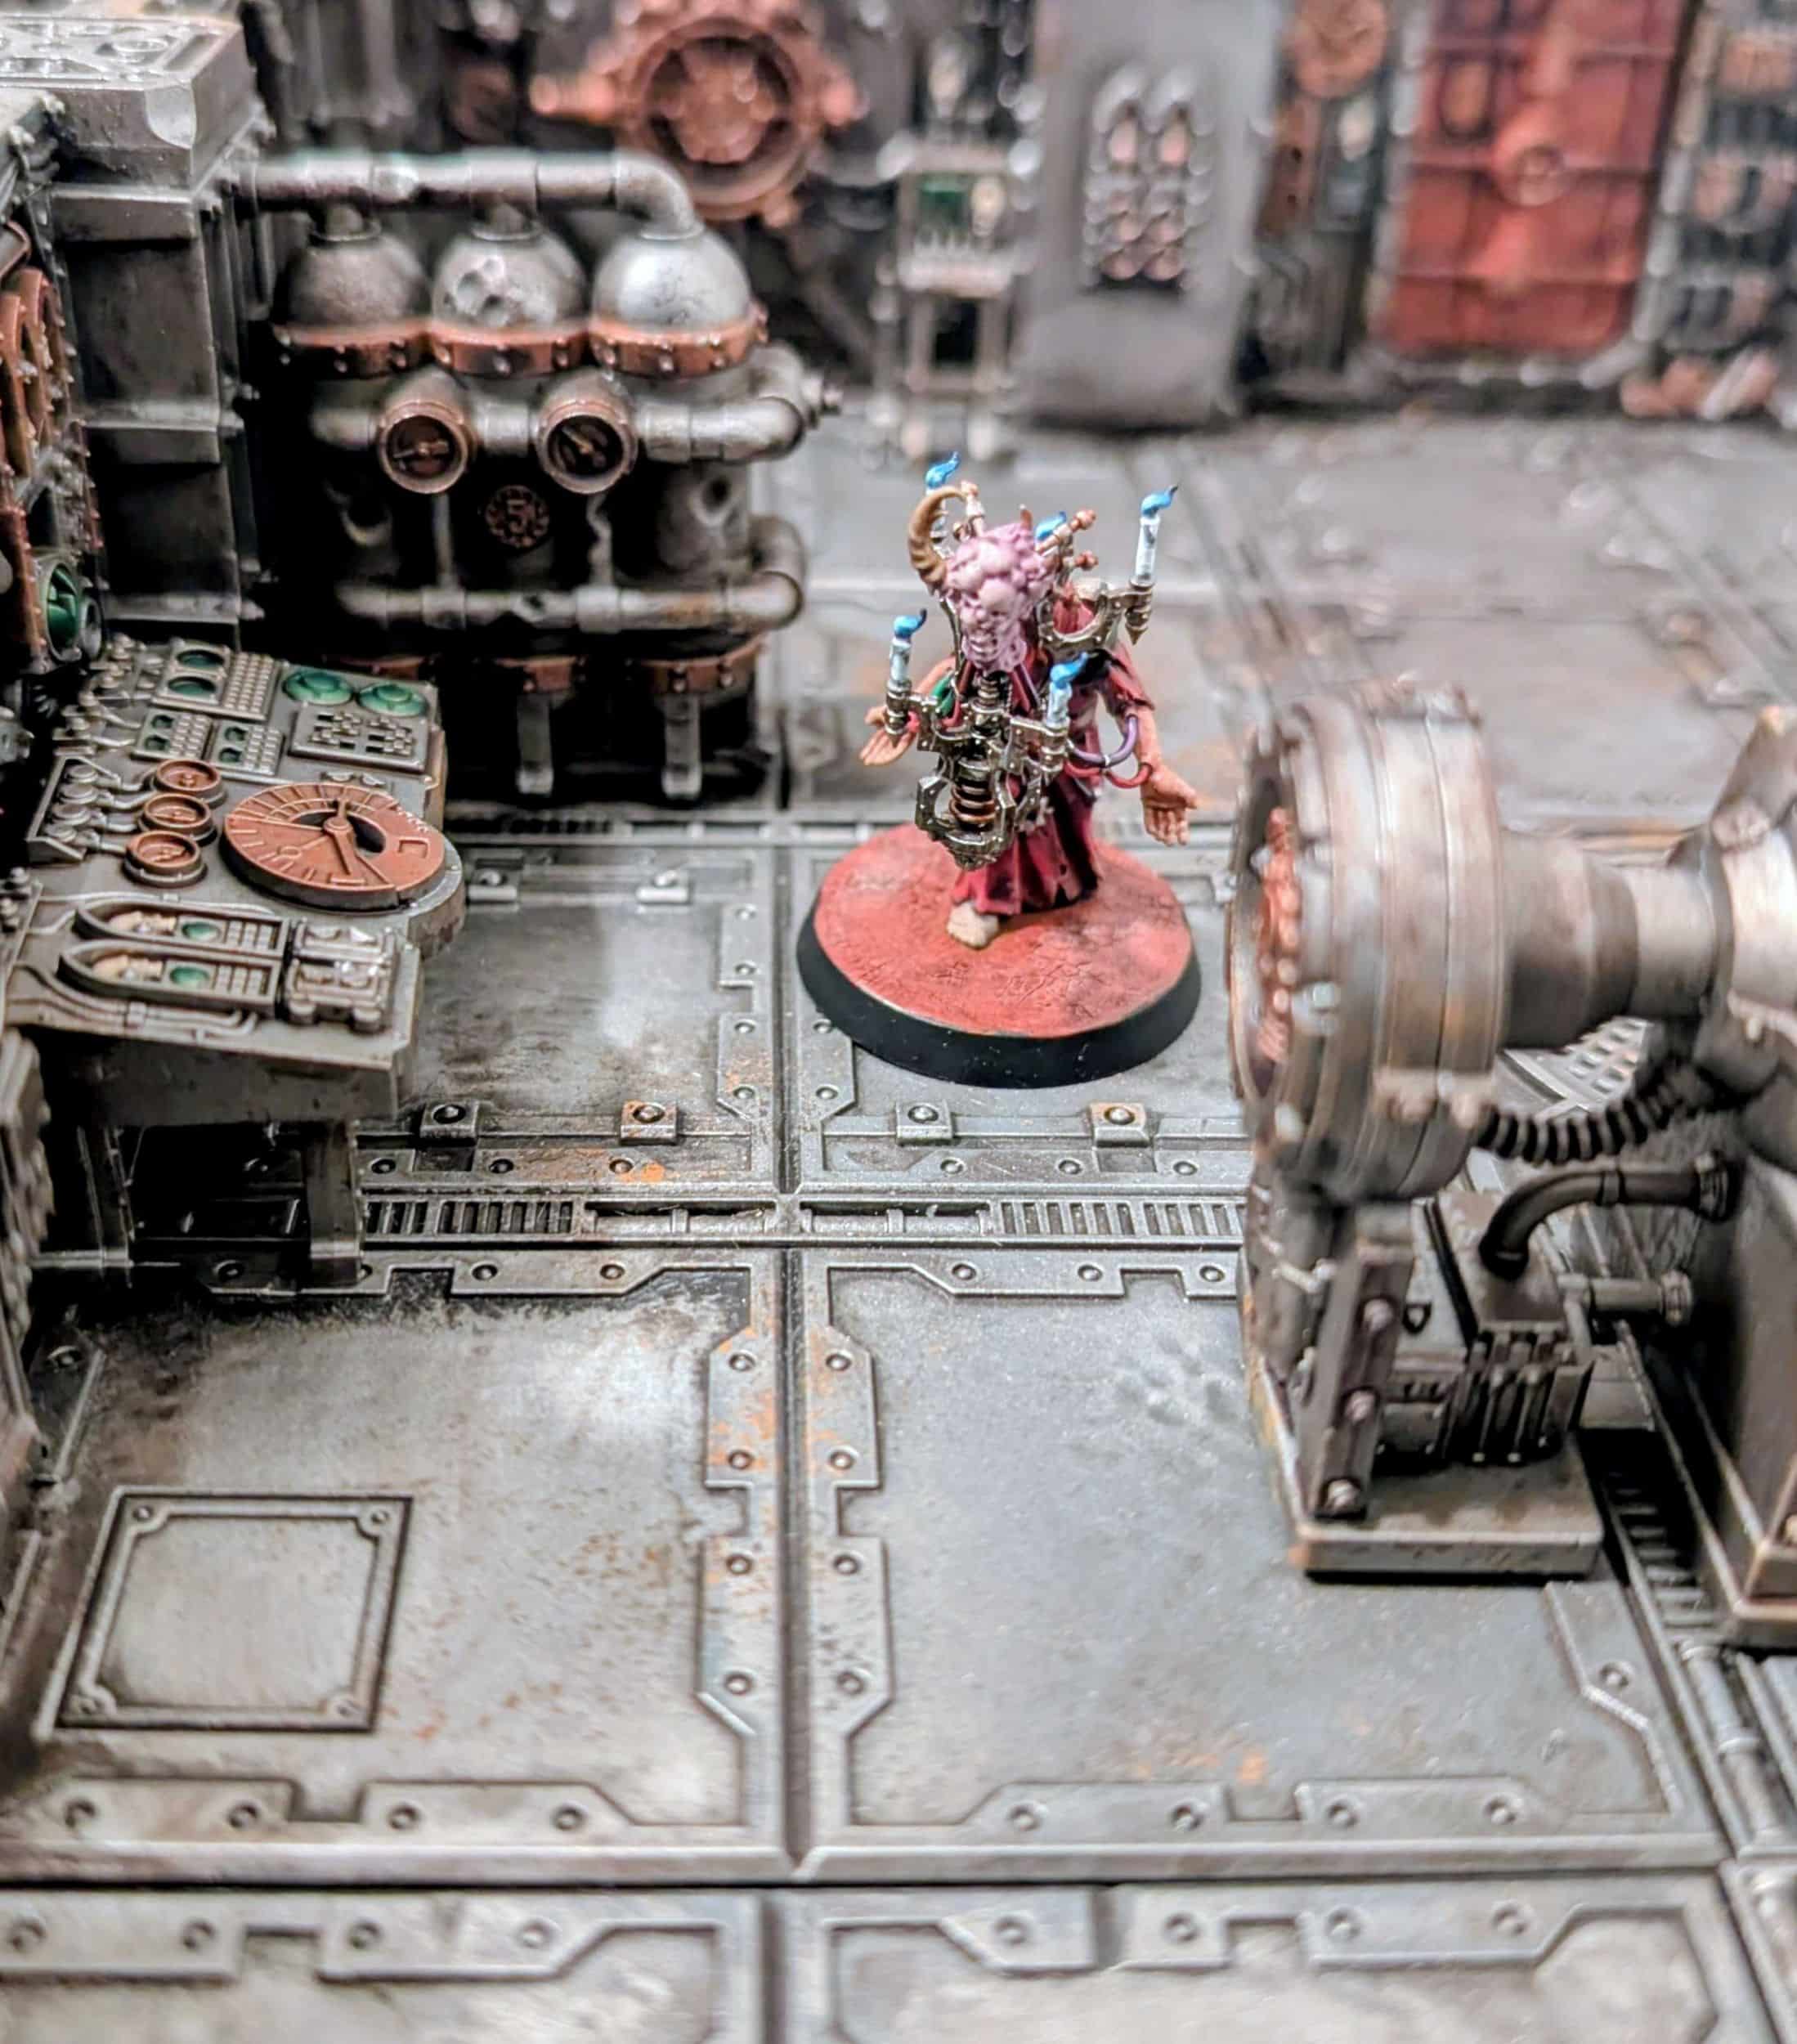
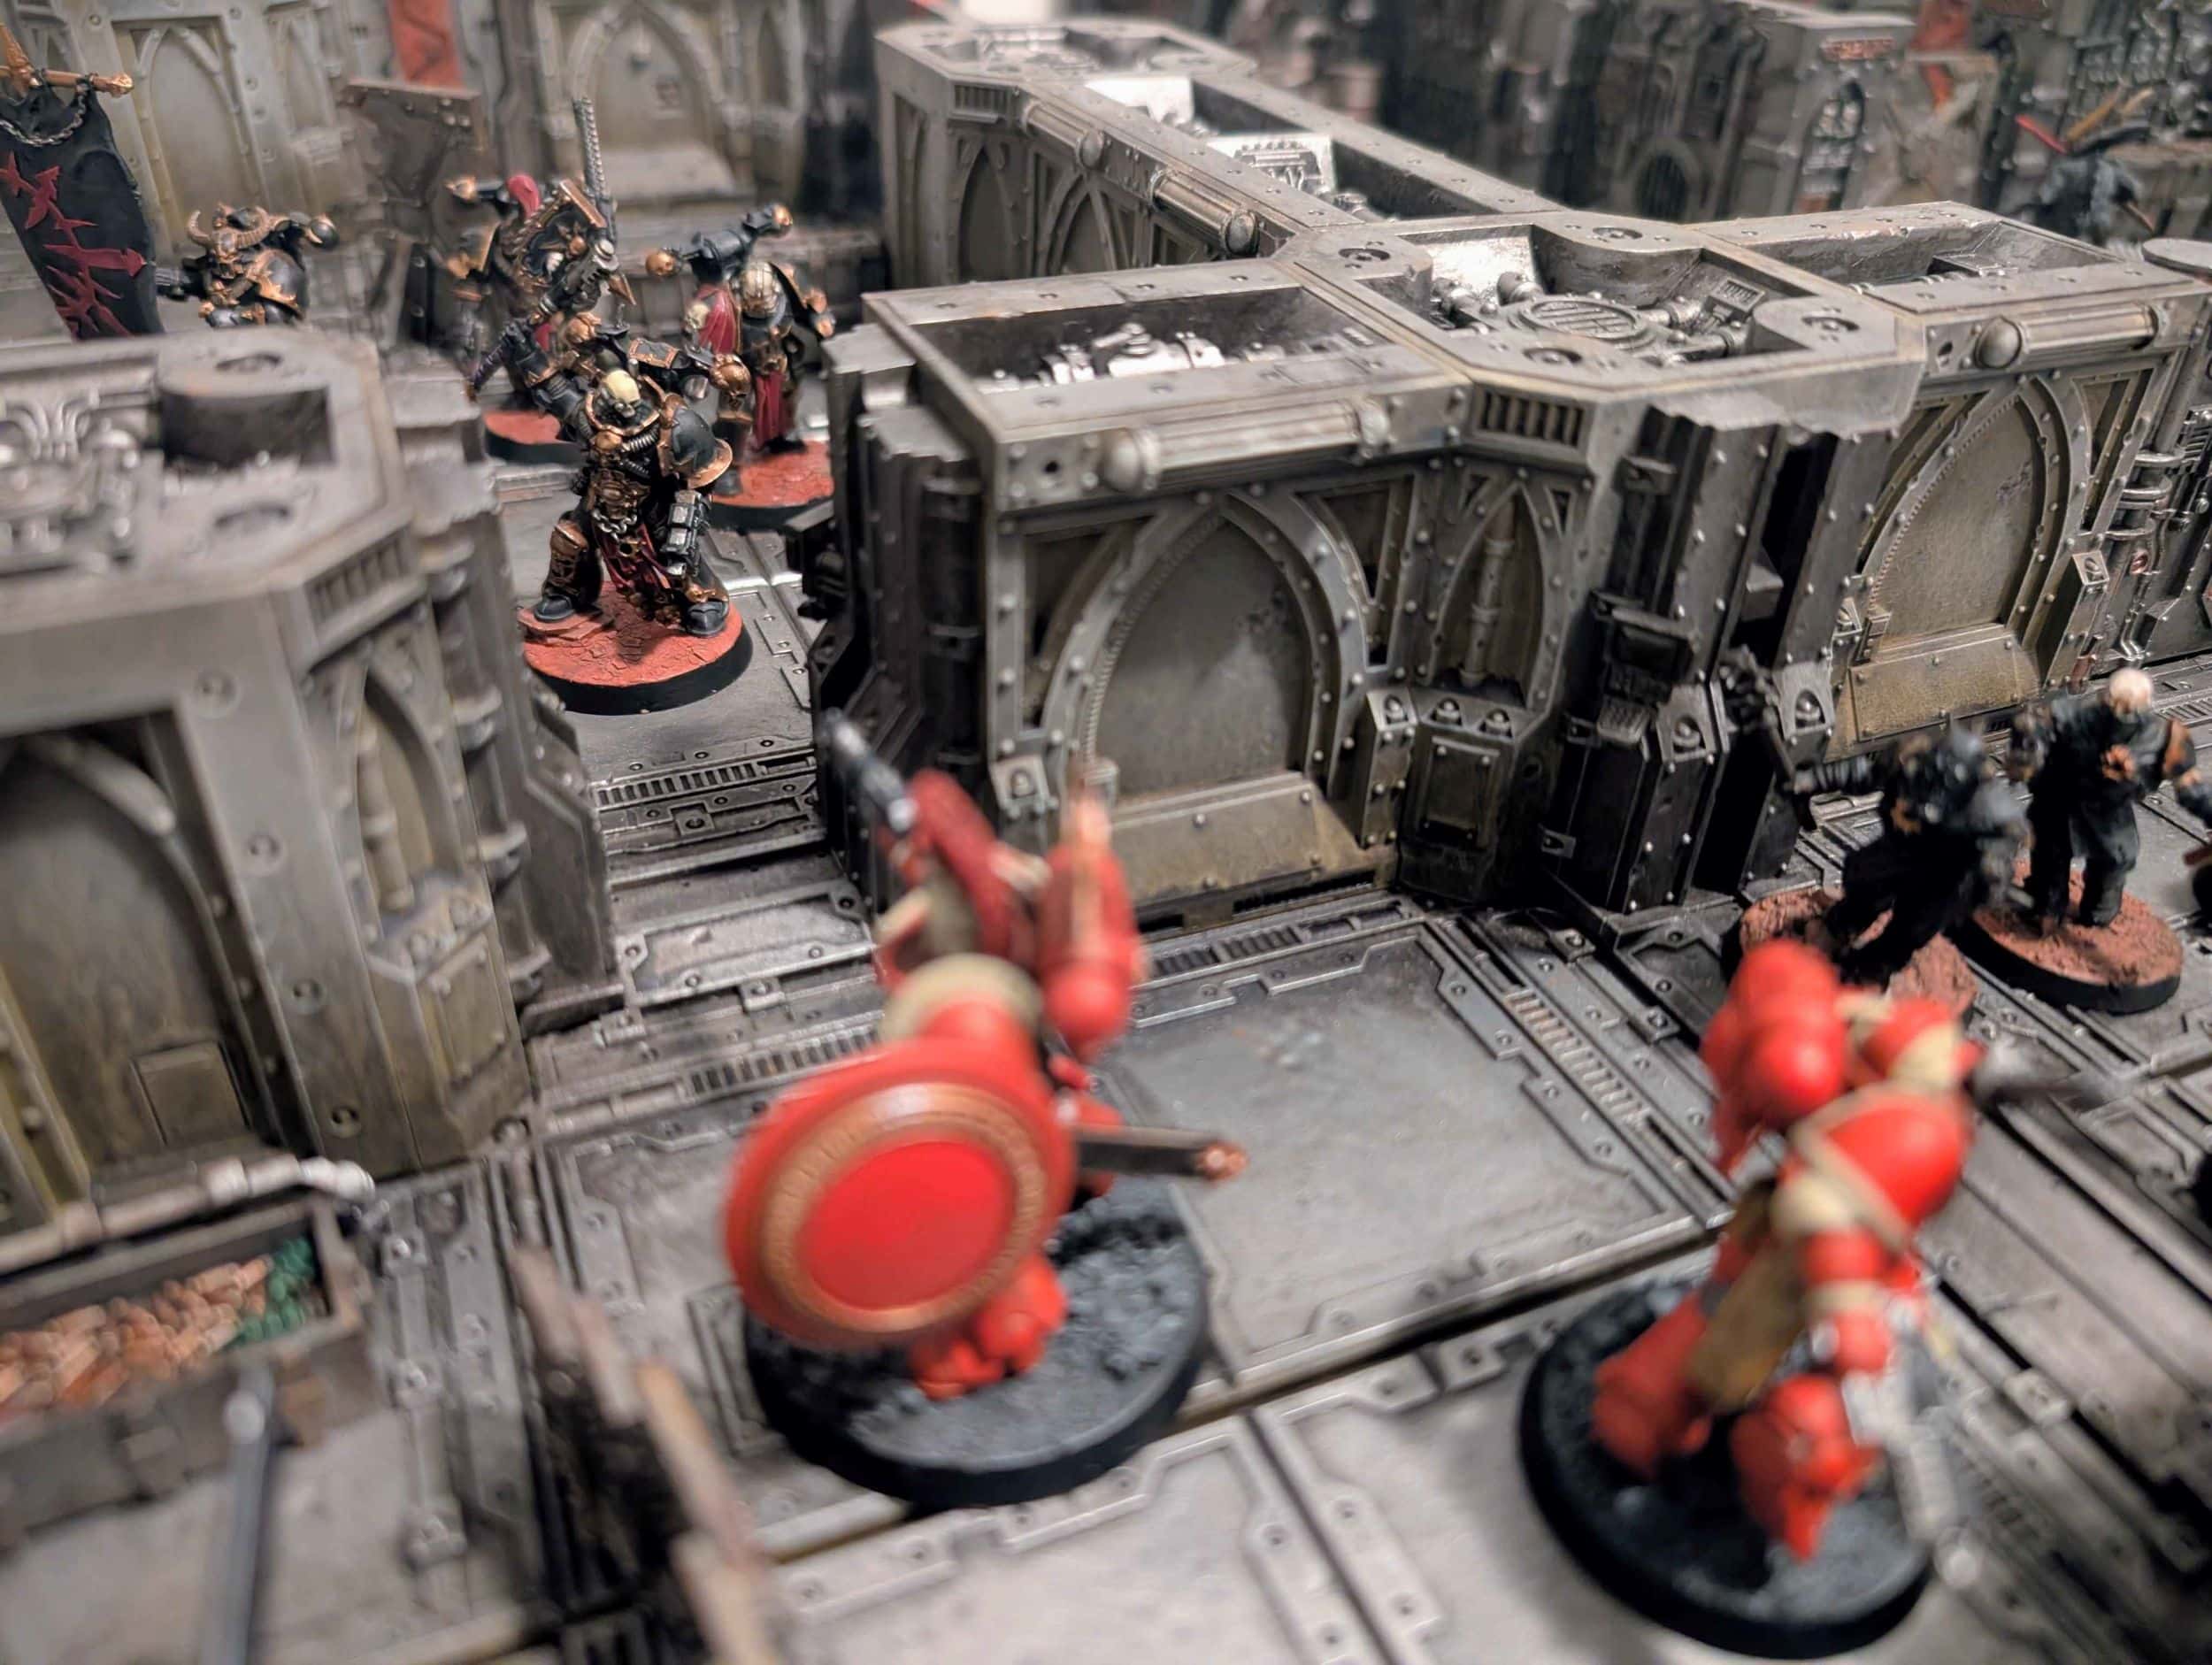
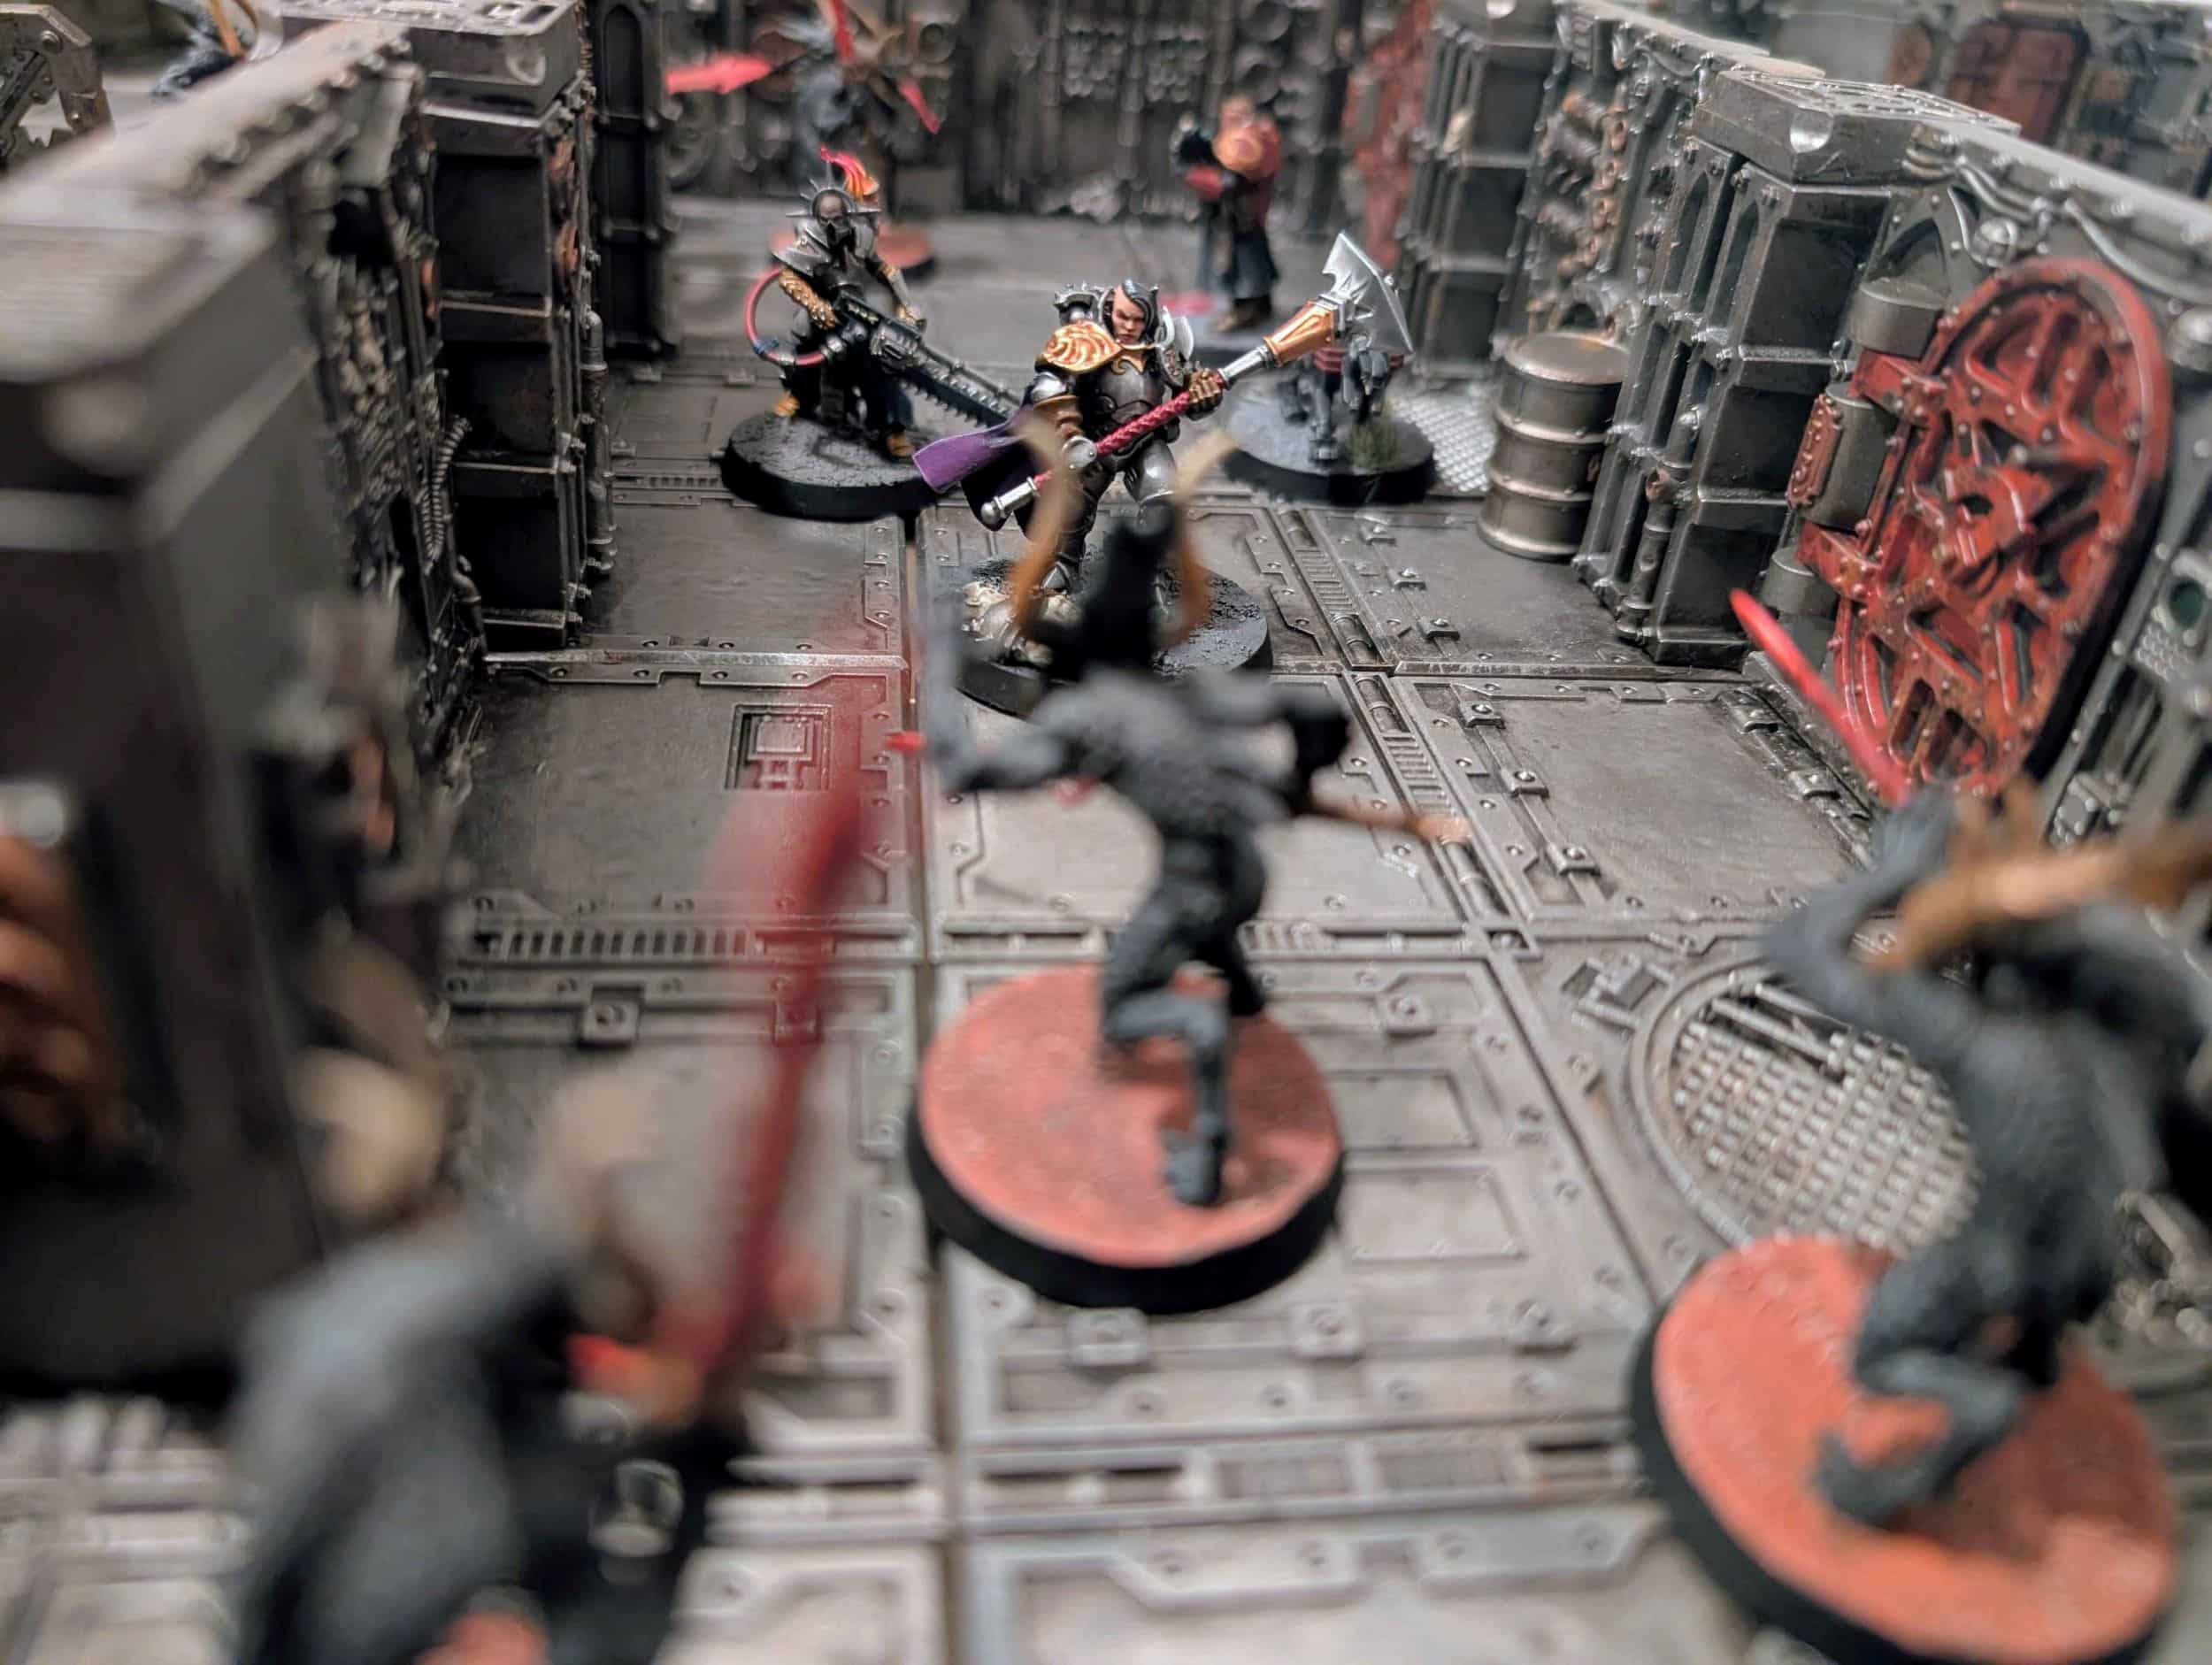
The Albatross will fly
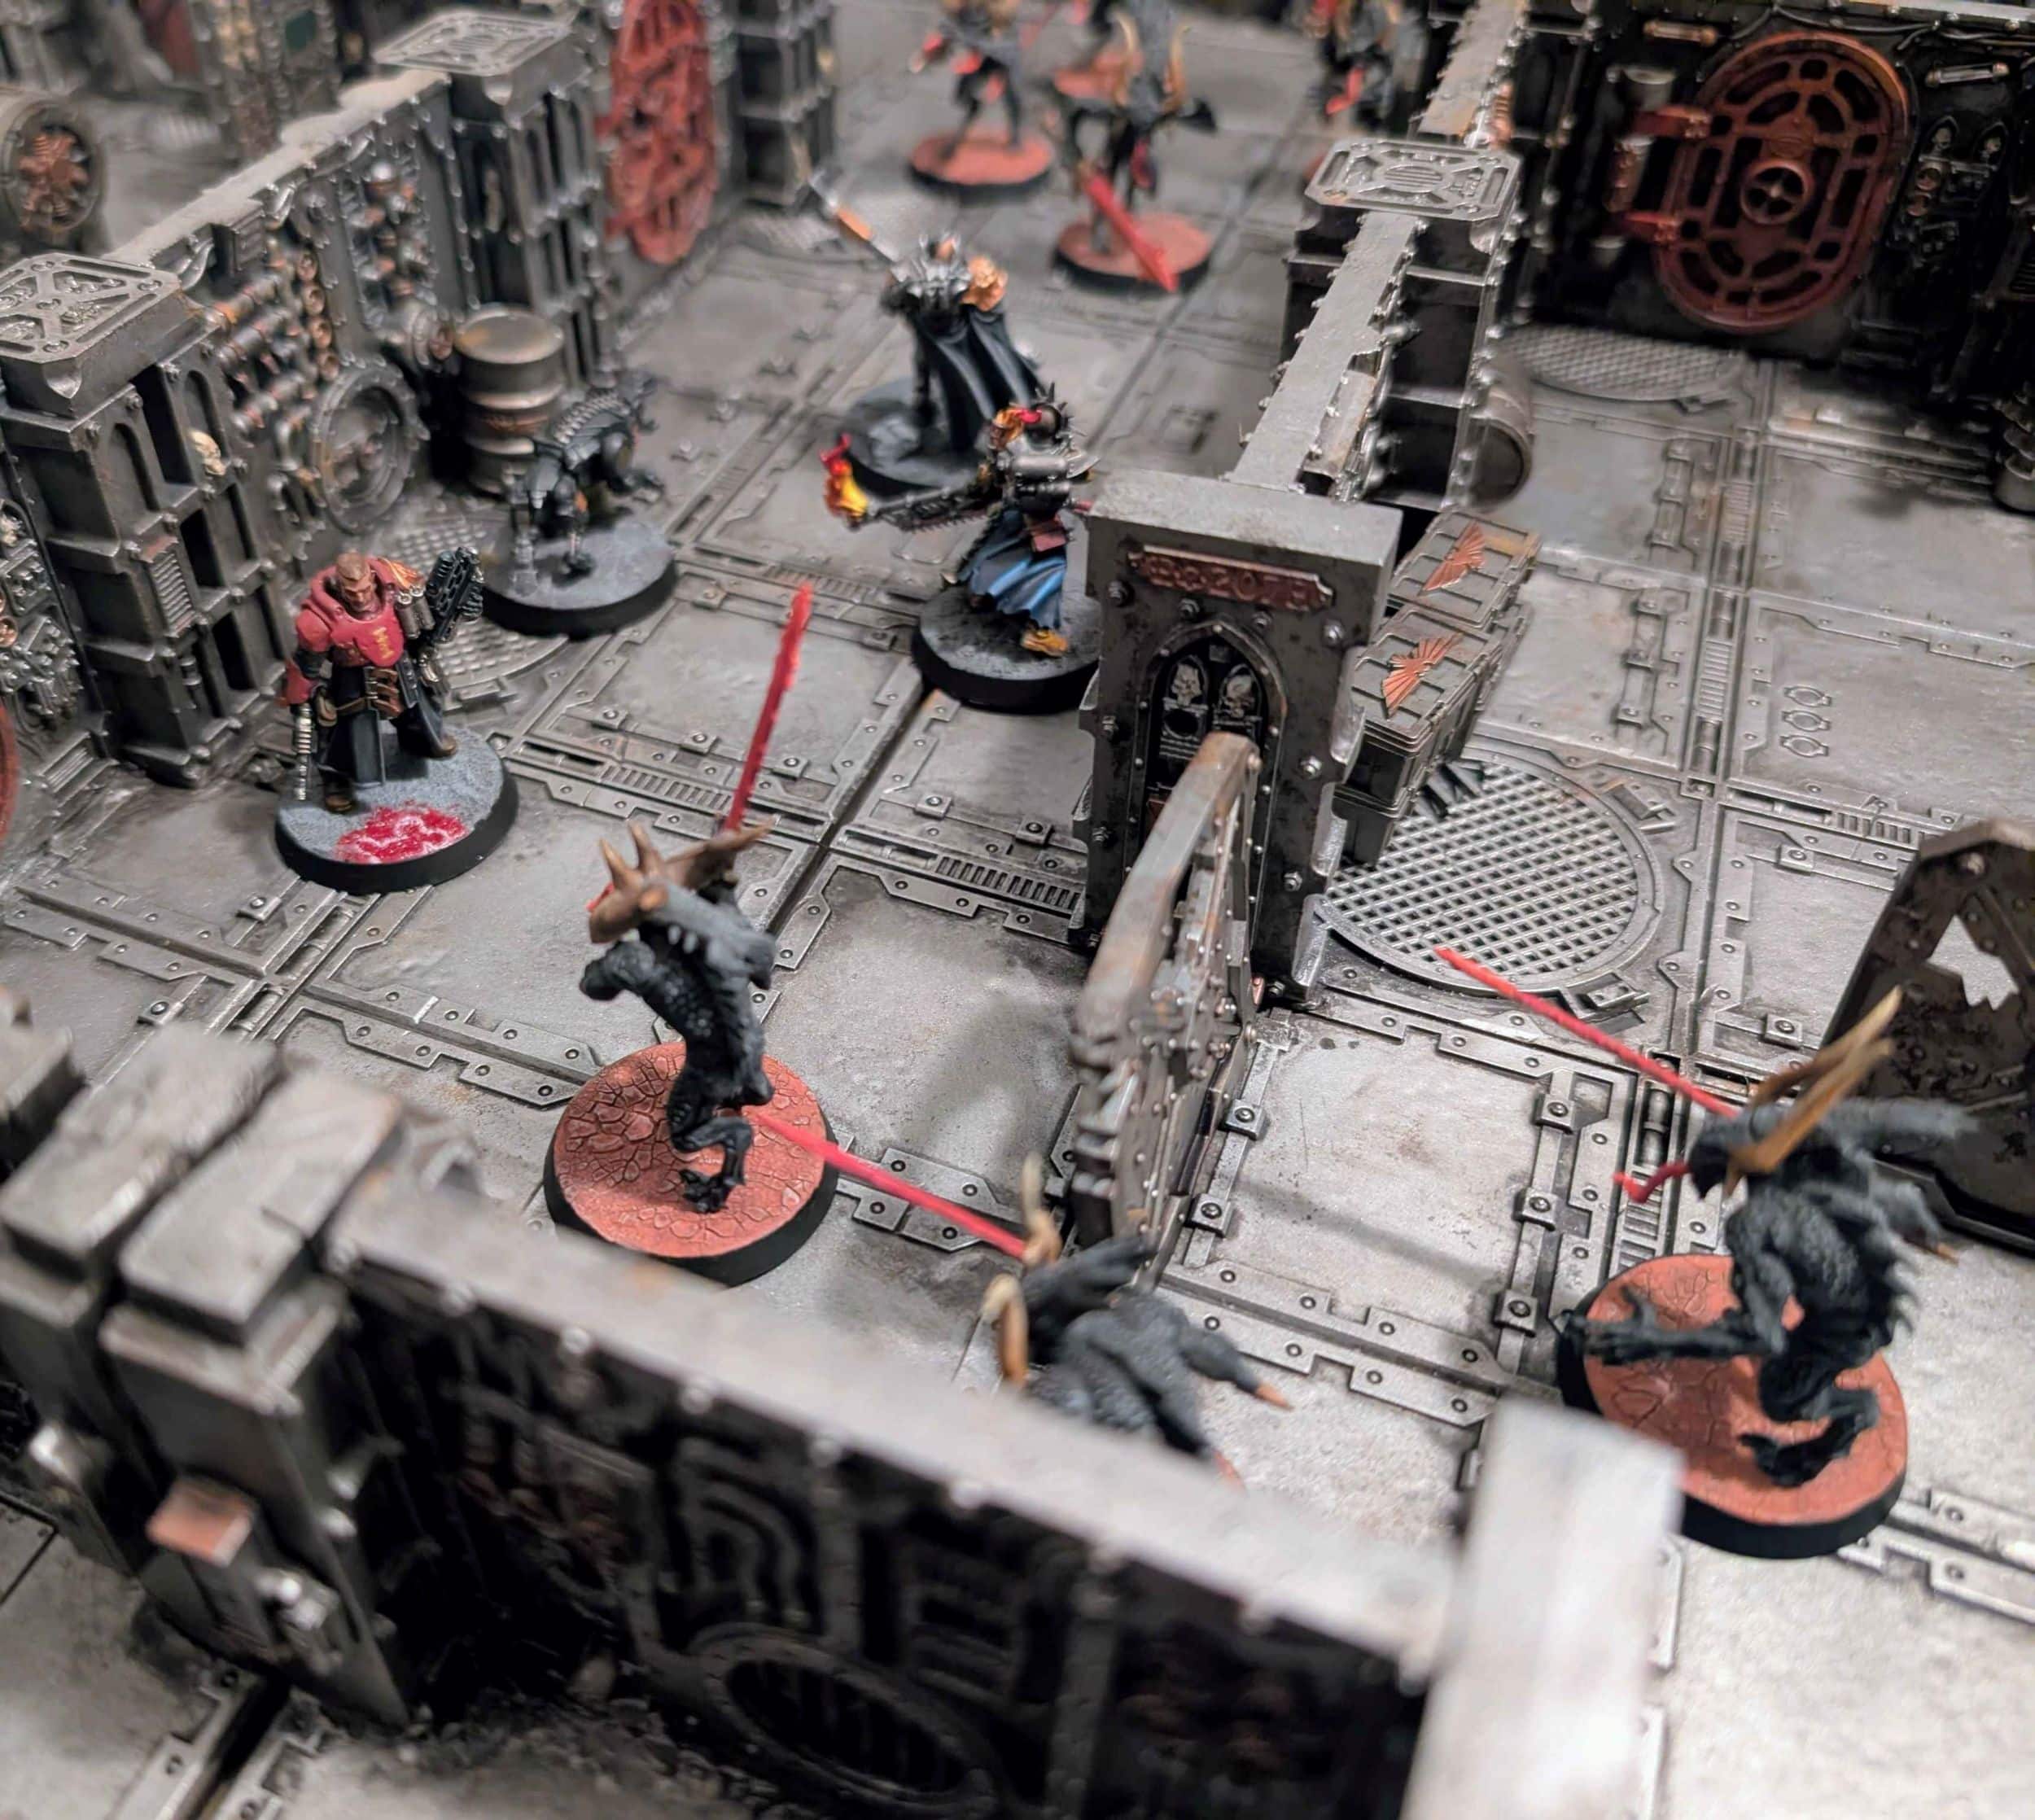
There you have it: seven years, sixteen tiles, and one painting nightmare later and I have a 4’x4’ ZM board I’m proud to call my own. At the time of writing, I’ve played only one 28mm Inquisitor game on it, but have another planned this month. My 30k Salamanders are also hovering around the 1,000 point ZM mark, I have plans to convert up a Black Legion Chosen squad themed with boarding shields, and my Storm Guard will generally rip and tear down those hallways.
Maybe models and dice won’t hit those tiles as often as I’d like, but I am so happy to be finished this project. And sure, it may not be the fanciest or best painted ZM board on the internet–five minutes on instagram will show you dozens that are better–but this one is mine, it’s finished, and I can play on it.
Though, maybe finished is a stretch. There are definitely things I could add: the aforementioned broadside guns, some drop pod cradles for the hangar, a central captain’s throne or main hololith for the bridge. And maybe those will come in time, but maybe not. Sometimes it’s better to finish a project, even if it’s not perfect, and move on to other things.
Like that goddamn psi-titan.
Credits
This post features models painted by Alys, Elton, Ian, Jacen, Jeff, Greg, Mathias, and Chaos Zach.